

Save $500! The Complete DIY Guide to Replacing Your Chevrolet Duramax EGR Valve
🔑 Key Takeaways
- DIY EGR valve replacement saves $300-500 in labor costs
- Tools needed: 10mm-15mm sockets, torque wrench, gasket scraper
- Replacement takes 2-4 hours for experienced DIY mechanics
- OEM EGR valves cost $150-400; aftermarket options $100-250
- Always replace intake manifold gaskets during EGR valve service
Why Does the Duramax EGR Valve Fail?
The Exhaust Gas Recirculation (EGR) valve on Duramax diesel engines operates in one of the harshest environments in your truck. It sits directly in the path of hot, soot-laden exhaust gas — typically at temperatures exceeding 600°F. Over tens of thousands of miles, carbon particles gradually coat the valve pintle and seat, eventually causing it to stick open, stick closed, or fail to seal properly.
On 2011 and newer LML Duramax engines, an additional failure mode exists: the EGR cooler can develop internal coolant leaks. When coolant enters the EGR circuit, it mixes with carbon deposits to form a sludge that accelerates valve failure. Common symptoms of a failing Duramax EGR valve include:
- Check Engine Light: Codes P0401 (Insufficient EGR Flow), P0404 (EGR Circuit Range/Performance), or P0402 (Excessive EGR Flow)
- Rough Idle or Stalling: A valve stuck partially open disrupts the air-fuel ratio at idle
- Loss of Power Under Load: Incomplete combustion from improper EGR flow robs horsepower and torque
- White or Gray Exhaust Smoke: Coolant leaking through the EGR cooler into the combustion chamber
- Reduced Fuel Economy: The ECM compensates for improper EGR flow with fuel trim adjustments that hurt MPG
Tools and Supplies You Need
Gathering everything before you start saves hours of frustration. Here is the complete checklist:
Basic Hand Tools
- 3/8-inch ratchet with 6-inch and 12-inch extensions
- 8mm, 10mm, and 13mm sockets (EGR mounting bolts vary by model year)
- Torx T20 and T30 bits (for electrical connector release tabs)
- Flathead and Phillips screwdrivers
- Needle-nose pliers (for vacuum hose clamps)
Specialized Tools
- EGR Valve Socket: LLY and LBZ engines (2004-2007) require a GM-specific 36mm deep socket
- Torque Wrench: Essential for proper bolt tightening — aluminum threads strip easily
- Coolant Catch Pan: Required for LMM (2007-2010) and LML (2011-2016) models with coolant lines
- OBD2 Scanner: To clear trouble codes after replacement
Cleaning Supplies
- EGR and throttle body cleaner (CRC or equivalent)
- New EGR valve gasket (never reuse the old one)
- Dielectric grease (for electrical connectors)
- Shop rags and brake cleaner (for surface prep)
Step-by-Step EGR Valve Replacement
Step 1: Safety Preparations
Disconnect the negative battery terminal. Allow the engine to cool completely — EGR components retain heat for hours after shutdown. If working on an LMM or LML model, relieve cooling system pressure by slowly opening the reservoir cap (with a rag over it). Wear safety glasses and mechanic gloves throughout the procedure.
Step 2: Locate and Access the EGR Valve
EGR valve location varies by Duramax generation:
- LLY/LBZ (2004-2007): Driver side of engine, positioned near the turbocharger. The 36mm deep socket is required for removal on these models.
- LMM (2007-2010): Mounted on the intake manifold on the passenger side. Coolant lines connect to the EGR cooler assembly adjacent.
- LML (2011-2016): Integrated into the EGR cooler assembly on the passenger side. Two coolant lines must be disconnected and drained before removal.
Remove any intake plumbing or brackets that obstruct access. Photograph the assembly before disassembly for reference during reinstallation.
Step 3: Disconnect and Remove the Old Valve
Unplug the electrical connector by depressing the release tab with a flathead screwdriver. Disconnect vacuum lines, labeling each with masking tape for correct reconnection. On LMM/LML models, drain approximately one gallon of coolant into a clean pan, then disconnect the coolant hoses from the EGR cooler using needle-nose pliers on the spring clamps. Remove the mounting bolts (typically 4 bolts, 8mm or 10mm), then gently pry the valve loose — carbon deposits often cement it in place.
Step 4: Clean the Mounting Surface
Use a plastic gasket scraper (never metal on aluminum) to remove the old gasket material. Spray EGR cleaner liberally into the intake port and wipe away carbon deposits with clean rags. Inspect the intake for excessive soot accumulation — heavy buildup may indicate a failing EGR cooler that should be addressed separately.
Step 5: Install the New EGR Valve
Position the new gasket on the mounting surface. Hand-tighten all bolts in a cross pattern, then torque to 18-22 ft-lbs. Reconnect electrical connectors with a thin coat of dielectric grease on the pins to prevent corrosion. Reattach vacuum lines to their original positions. If coolant was drained, refill with the proper Dex-Cool mixture and bleed the system according to the service manual.
Step 6: Reset and Test
Reconnect the battery. Use your OBD2 scanner to clear all stored trouble codes. Start the engine and let it idle for 5 minutes while checking for exhaust leaks around the gasket and coolant leaks at the hose connections. Take a 15-minute test drive including both city and highway conditions. Re-scan for codes to confirm the repair.
Pro Tips to Avoid Costly Mistakes
- Never overtighten bolts: Duramax intake manifolds are aluminum. Exceeding 22 ft-lbs will strip threads, requiring a helicoil repair.
- Always replace the gasket: A reused gasket is the #1 cause of post-replacement exhaust leaks and P0401 code returns.
- Clean the intake port: Carbon buildup left behind will contaminate your new valve within the first 1,000 miles.
- Do not skip the code reset: The check engine light will not clear itself even after a successful repair — you must use a scanner.
- Check the EGR cooler: On LML engines, if you find coolant in the EGR circuit, the cooler has likely failed and needs replacement too.
FAQs About Duramax EGR Valve Replacement
Q1: How long does an EGR valve replacement take for a DIY mechanic?
A1: For a first-time DIYer with basic mechanical experience, budget 2.5-3 hours. Experienced wrenchers can complete the job in 1-1.5 hours. LML models with coolant lines add approximately 30 minutes for draining and refilling.
Q2: Can I drive with a bad EGR valve while waiting for the replacement part?
A2: Limited driving is possible, but not recommended. A stuck-open EGR valve causes rough running, poor fuel economy, and potential catalytic converter damage from unburned fuel. A stuck-closed valve increases NOx emissions and may trigger limp mode on newer trucks. Plan to replace it as soon as possible.
Q3: Should I replace the EGR cooler at the same time as the valve?
A3: Not automatically, but inspect it carefully. If you find coolant contamination, excessive carbon in the intake, or the cooler has over 150,000 miles, proactive replacement is wise — it prevents doing the job twice when the cooler fails shortly after.
Q4: What is the difference between OEM and aftermarket EGR valves?
A4: OEM (ACDelco) valves carry the GM warranty and exact specifications but cost $250-400. Quality aftermarket valves from reputable manufacturers often cost 40-50% less while meeting or exceeding OEM specifications. The key is choosing a supplier that uses upgraded materials resistant to carbon adhesion.
Q5: Is an EGR delete a better long-term solution than replacing the valve?
A5: An EGR delete permanently eliminates valve and cooler failure points, improves throttle response, and prevents carbon buildup. However, it is for off-road and competition use only — it renders the vehicle non-compliant with federal emissions regulations and may cause inspection failures. For daily-driven street trucks, replacement with a quality valve is the compliant choice.
Conclusion
Replacing a Duramax EGR valve is a straightforward repair that saves $300-500 in dealership labor. With the right tools, a clean workspace, and attention to torque specifications, most owners can complete this job in an afternoon. Visit www.seguler.com for quality EGR replacement components and EGR delete kits engineered for every Duramax platform from LLY through L5P.


Featured collection
-
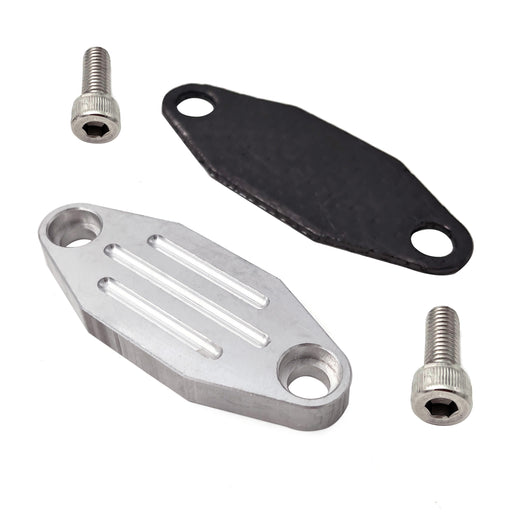
Seguler 1986-1995 Ford F150 F250 F350 Mustang Trucks EGR Simulator Eliminator / Block Off Plate Kit
SEGULEROriginal price $79.99 - Original price $79.99Original price$79.99$79.99 - $79.99Current price $79.99Block Off Plate Material: Aluminum alloy. Easy installation,and convenient to use. Made of CNC milled from aircraft grade Billet aluminum. Will N...
View full details -
Seguler 2009-2019 6.7L Ram Cummins Coolant Bypass Barb Adapter Leak Repair Kit
SEGULEROriginal price $35.99 - Original price $35.99Original price$35.99$35.99 - $35.99Current price $35.99Made of aerospace-grade billet aluminum. Effectively repair the problem of coolant leakage. Resist corrosion and rust for a long time and has good...
View full details -

For 2011-2023 6.7L Ford Powerstroke Diesel EGR Delete Kit
SEGULEROriginal price $109.99 - Original price $109.99Original price$109.99$109.99 - $109.99Current price $109.99Material: Aluminum alloy,Stainless steel. 10mm Hole exhaust cover plate for Ford EGT Probes. CNC machine of billet aluminum and stainless steel m...
View full details -

For 2010-Present Stage 2 ISX 15 CM2250 CM2350 EGR Delete Kit
SEGULEROriginal price $59.99 - Original price $59.99Original price$59.99$59.99 - $59.99Current price $59.99Material: Aluminum Two plates in this kit are made of 6061 aircraft grade billet aluminum anodized and CNC laser cut or CNC machined out of high q...
View full details -
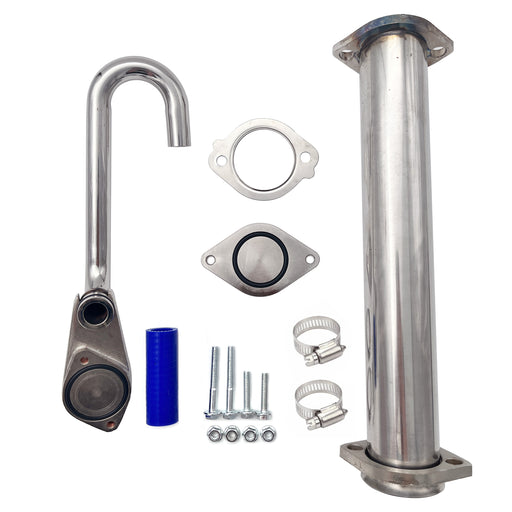
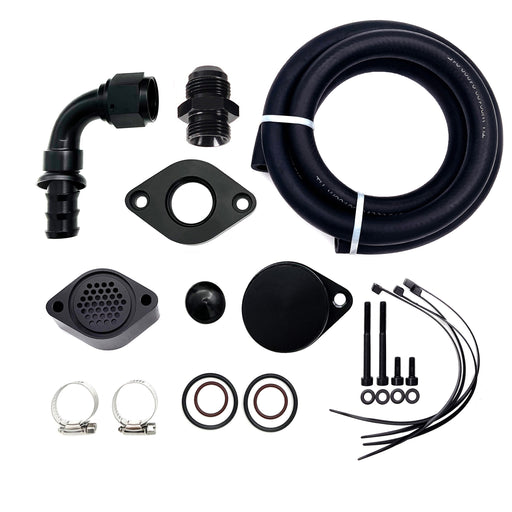
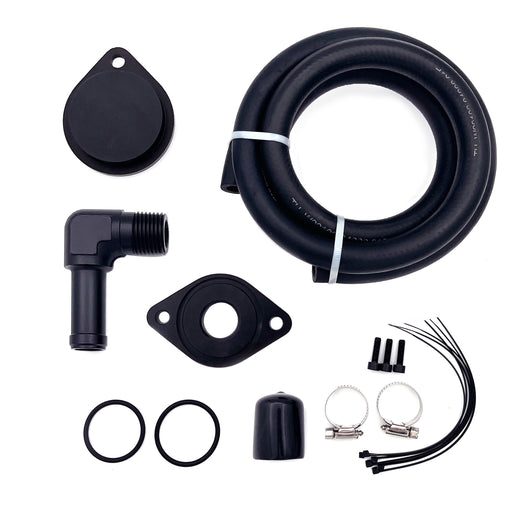
For 2011-2016 6.6L GMC Chevy Duramax Diesel LML EGR Valve Cooler Delete Kit
SEGULEROriginal price $66.49 - Original price $66.49Original price$66.49$66.49 - $66.49Current price $66.49Material: Stainless steel, billet aluminum. Eliminate soot and block of EGR valve prevent high EGT from flow back into engine. Quicker turbo spoo...
View full details -
For 1996-2004 3.8L 4.6L 5.4L Ford GT SVT GT500 V8 Mustang Cobra EGR Delete kit And Exhaust Cap
SEGULEROriginal price $51.99 - Original price $51.99Original price$51.99$51.99 - $51.99Current price $51.99Placement on Vehicle:Front Billet aluminum IAC (idle air control) and EGR (exhaust gas recirculation) block-off plates add a distinctive touch to ...
View full details -
Seguler 2003-2007 6.0L FORD Powerstroke Diesel EGR Cooler Delete Kit
SEGULEROriginal price $56.14 - Original price $56.14Original price$56.14$56.14 - $56.14Current price $56.14Material: 304 stainless steel,Aluminum billet. Eliminate ash accumulation and EGR valve blockage. Improve the cooling effect and reduce the engi...
View full details -
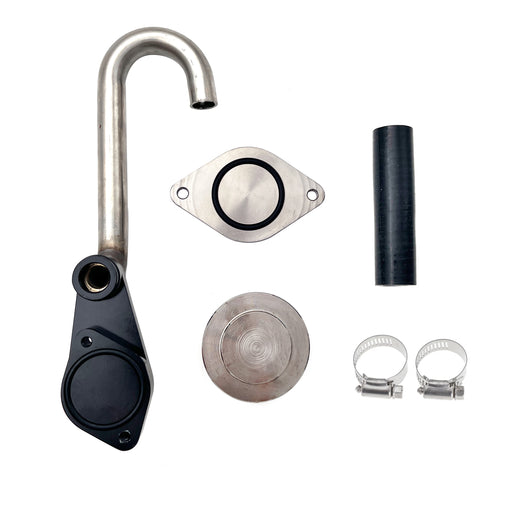
For 2004-2005 6.6L Chevy GMC Silverado LLY Duramax Diesel EGR Delete Kit
SEGULEROriginal price $92.99 - Original price $92.99Original price$92.99$92.99 - $92.99Current price $92.99Material: Aluminum,Stainless steel,Silicone Eliminates soot build-up and clogged EGR Valves Direct replacement. No installation instruction. No Gl...
View full details -

For 2011-2023 6.7L Ford Powerstroke Diesel EGR Delete Kit
SEGULEROriginal price $85.99 - Original price $85.99Original price$85.99$85.99 - $85.99Current price $85.99Material: Aluminum alloy,Stainless steel. 10mm Hole exhaust cover plate for Ford EGT Probes. CNC machine of billet aluminum and stainless steel m...
View full details -
For 2014-2019 3.0L Dodge Ram 1500 EcoDiesel EGR Valve & Cooler Delete Kit
SEGULEROriginal price $72.99 - Original price $72.99Original price$72.99$72.99 - $72.99Current price $72.99Material: Aluminum,Stainless steel,Silicone. Eliminates soot build-up and clogged EGR Valves. EGR removed and the temperature in the engine compa...
View full details -

Seguler 2010-2024 6.7L Dodge Ram Cummins Diesel EGR Valve Cooler Delete Kit
SEGULEROriginal price $89.99 - Original price $89.99Original price$89.99$89.99 - $89.99Current price $89.99Material: Aluminum alloy,silicone This kit is intended for off road use. Eliminates soot build up and clogged EGR Valves. Hot exhaust gasses ar...
View full details -
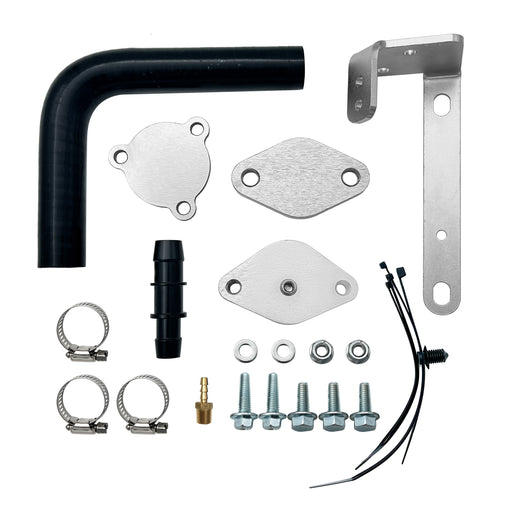
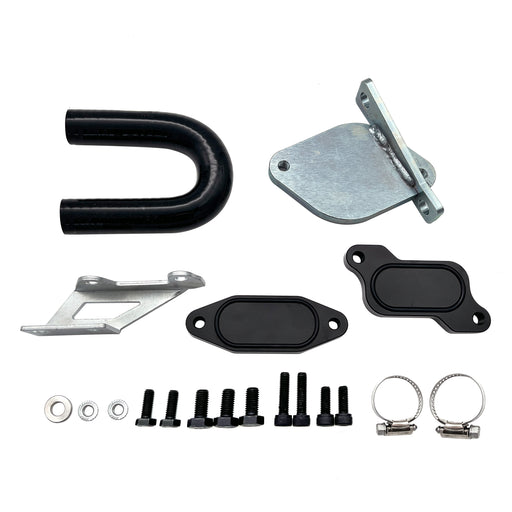
For 2006-2007 6.6L Chevrolet Silverado Classic GMC Duramax LBZ Diesel EGR Valve Cooler Delete Kit
SEGULEROriginal price $63.49 - Original price $63.49Original price$63.49$63.49 - $63.49Current price $63.49Material: Aluminum,Stainless steel,Silicone Eliminates soot build-up and clogged EGR Valves Guaranteed to last under high temperatures and pressu...
View full details -

Seguler 2020-2023 chevy duramax L5P Diesel Can Bus Plugs Connector
SEGULEROriginal price $80.00 - Original price $80.00Original price$80.00$80.00 - $80.00Current price $80.00For use with aftermarket exhaust systems or delete pipes Used when removing the DPF/DEF systems These plugs will go in place of the NOx and DEF mo...
View full details -

Seguler 2017-2019 L5P Duramax Diesel 4pcs L5P Can Bus Plugs Connector Replacement
SEGULEROriginal price $75.00 - Original price $75.00Original price$75.00$75.00 - $75.00Current price $75.00Material: ABS For use with an Aftermarket Exhaust System. A new engine calibration is required. Plugs will replace NOX and DEF modules. The L...
View full details -
Seguler 2003-2007 6.0L Ford F250 F350 Powerstroke Diesel EGR Basic Cooler Kit
SEGULEROriginal price $79.99 - Original price $79.99Original price$79.99$79.99 - $79.99Current price $79.99CNC machine of Aluminum and Stainless Steel billets. Resist corrosion and rust for a long time and has good heat dissipation. Reduce component a...
View full details -

For 2011-2023 6.7L Ford F250 F350 F450 F550 Powerstroke Diesel EGR Valve Delete Cooler Delete Kit
SEGULEROriginal price $55.99 - Original price $55.99Original price$55.99$55.99 - $55.99Current price $55.99Material: Aluminum alloy,Stainless steel. Black Anodized components for better durability. 12mm Hole exhaust cover plate for Ford EGT Probes. E...
View full details -
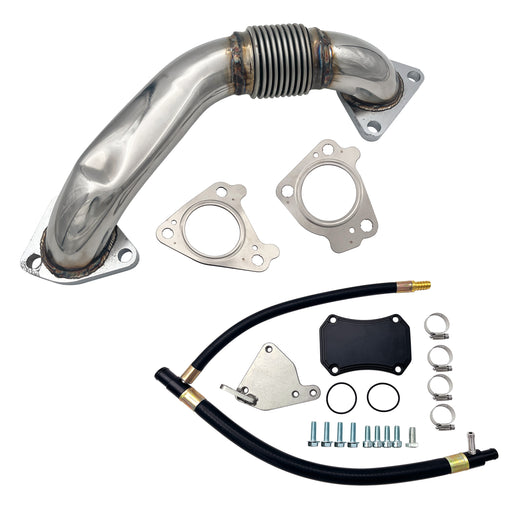
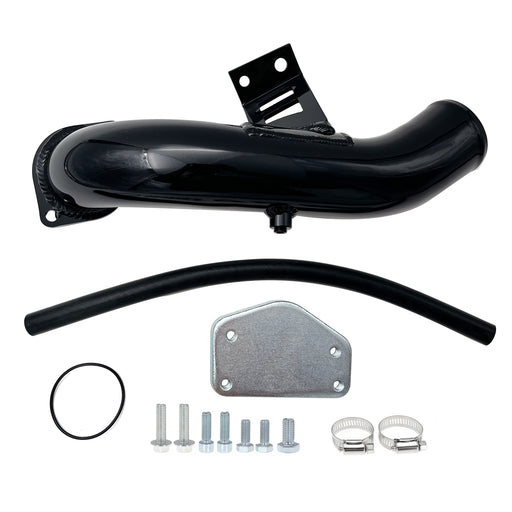
Seguler 2011-2016 6.6L GMC Chevy Duramax Diesel LML Up-Pipe & EGR Valve Cooler Delete Kit
SEGULEROriginal price $173.86 - Original price $173.86Original price$173.86$173.86 - $173.86Current price $173.86Material: 304 Stainless Steel. Reduce the amount of carbon deposited from exhaust to intake. Thanks to its fast airflow and superior engineered ex...
View full details -

For 2017-2023 6.6L Chevy GMC Duramax L5P diesel EGR Valve Cooler Delete kit
SEGULEROriginal price $131.99 - Original price $131.99Original price$131.99$131.99 - $131.99Current price $131.99Material:Aluminum Alloy ,Stainless steel,Silica gel Improved Performance: Eliminating the EGR system leads to better exhaust flow and faster tur...
View full details -
For 1983-1997 Ford F150 F250 F350 Mustang Trucks EGR Delete Block Off Plate Kit
SEGULEROriginal price $22.87 - Original price $22.87Original price$22.87$22.87 - $22.87Current price $22.87Material: Aluminum alloy. Easy installation,and convenient to use. Made of CNC milled from aircraft grade Billet aluminum. Will Not Warp or Deform...
View full details -
Seguler 3" Ecodiesel DPF Delete Pipe & EGR Delete kit for 2014-2018 3.0L Ram
SEGULEROriginal price $342.00 - Original price $342.00Original price$342.00$342.00 - $342.00Current price $342.00Material: High quality stainless steel Inlet Diameter: 3.0" Eliminates soot build-up and clogged EGR Valves Specialized designs to ensure a perfec...
View full details -
Seguler 2011-2023 6.7L Ford Powerstroke CCV PCV Reroute Engine Ventilation Kit
SEGULEROriginal price $82.99 - Original price $82.99Original price$82.99$82.99 - $82.99Current price $82.99Venturi style design eliminates the need for restrictive baffles, streamline routing with no angles, provides better pressure flow and no oil drip...
View full details -

For 2013-2023 6.7L Dodge Ram Cummins Cab & Chassis EGR Delete Kit Diesel
SEGULEROriginal price $62.99 - Original price $62.99Original price$62.99$62.99 - $62.99Current price $62.99Material: Aluminum alloy. Eliminates soot build up and clogged EGR Valves. Hot exhaust gasses are not being re-routed back into the motor. Coo...
View full details -

For 2007-2010 Cummins ISX CM871 EGR Plug Kit Stage 2 Plates and Plugs Aluminum
SEGULEROriginal price $67.99 - Original price $67.99Original price$67.99$67.99 - $67.99Current price $67.99Material:304 Stainless Steel & Billet Aluminum. High-temperature graphite gaskets are adopted to prevent leakage. Used to delete the EGR val...
View full details -
For 11-23 Ford 6.7L Powerstroke CCV/PCV Reroute/Delete Engine Ventilation Kit
SEGULEROriginal price $72.00 - Original price $72.00Original price$72.00$72.00 - $72.00Current price $72.00Material:Aluminum alloy rubber. Black Anodized components for better durability. This Crankcase Ventilation System provides a SOLID solution to ...
View full details -
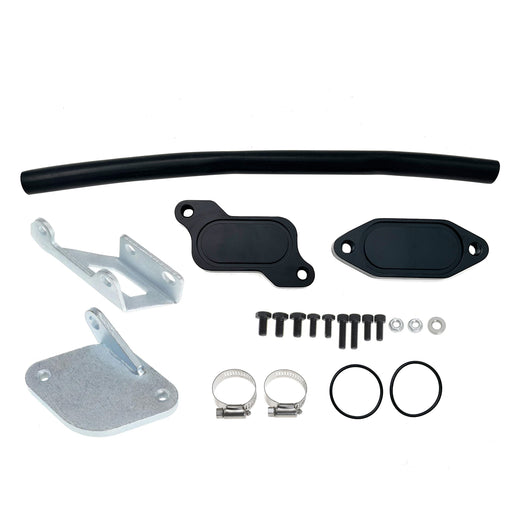
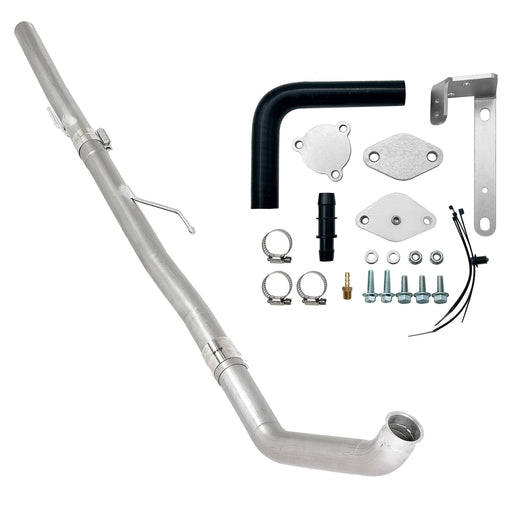
For 2007-2010 6.6L Chevy GMC LMM Duramax EGR Valve Cooler Delete Kit Fit
SEGULEROriginal price $61.99 - Original price $61.99Original price$61.99$61.99 - $61.99Current price $61.99Material: Aluminum alloy,Stainless steel. Improves engine life by eliminating soot build-up and reducing fuel consumption. EGR valve cooler delet...
View full details


Leave a comment