

6.4L Powerstroke Up-Pipe — Why Your Truck Screeches Under Boost
That high-pitched screech or whistle you hear when the boost builds — and only when the boost builds — is almost never a blown turbo. On the 2008-2010 6.4L Powerstroke, it’s usually a cracked up-pipe: the pre-turbo exhaust plumbing behind the engine that carries hot gas up to the compound twin-turbo. The pipe cracks, exhaust escapes before it reaches the turbine, and the truck screeches, loses boost, and burns hot.
For off-road / competition use only. Not legal for on-road use in emissions-regulated areas. Check your local, state, and federal laws before modifying any emissions-related component.
Why Does Your 6.4L Screech Under Boost?
Because a cracked up-pipe leaks exhaust gas before it can spin the turbo. The moment boost pressure rises under acceleration or towing load, that escaping gas is forced through a hairline crack under pressure — and pressure through a small gap is exactly what produces a sharp, high-pitched whistle or screech.
The Pattern Is What Gives It Away
The sound is quiet at idle, builds with acceleration, peaks under load, and disappears the instant you lift off the throttle. If the noise followed that exact rhythm, you’re hearing a pre-turbo exhaust leak, not a bad bearing or a failing turbo.
A turbo problem sounds different — more like a grinding or whining that doesn’t track throttle position the same way.
What Exactly Are Up-Pipes: Why Do They Crack?
The Working Principle of the Up-Pipe
The 6.4L Powerstroke uses a compound (sequential) twin-turbo system — a small high-pressure turbo and a larger low-pressure turbo working in series. The up-pipes are the two exhaust pipes that run from the exhaust manifolds up the back of the engine to the turbo’s turbine inlet.
Why Do 6.4L Up-Pipes Crack So Often?
First, the bellows:
The factory flex joints are thin and unreinforced, and they fatigue from relentless thermal cycling. This is the classic failure, and it’s why most up-pipe replacements exist in the first place.

Second, the EGR delete connection:
On the 6.4L, the passenger-side up-pipe has the EGR crossover pipe welded to it, and that crossover runs to the EGR cooler. The EGR cooler itself acts as a structural support for the up-pipe assembly. When owners delete the EGR and mount the block-off plate in the wrong spot — down at the EGR cooler end instead of up at the up-pipe end — the crossover pipe loses that support, and the now-unsupported section cracks right at its mounting bracket.
The correct way to delete the EGR on a 6.4L is to remove the crossover pipe entirely, block it off at the up-pipe end, and relocate the exhaust back pressure (EBP) sensor to the new block-off plate. Skip that step and the truck comes back with a fresh crack and the same screech.
How Is an Up-Pipe Leak Different From a Downpipe Leak?
This distinction is the single most useful thing to know before you start buying parts, because the two leaks sound and behave completely differently.
| Leak | Location | What It Sounds Like | What It Does |
|---|---|---|---|
| Up-pipe (pre-turbo) | Between manifold and turbo |
Sharp, high-pitched whistle or hiss that intensifies under load |
Starves the turbo of drive pressure → slow spool, low boost, high EGT |
| Downpipe (post-turbo) | After the turbo, toward the exhaust |
Deeper, pulsing, or “chuffing” noise |
Less impact on boost; more of an exhaust leak |
An up-pipe leak is a pre-turbo leak: exhaust escapes before it reaches the turbine, so the turbo gets less energy to compress air. That’s why the symptoms are slow spool, lost boost, sluggish power, and hotter EGTs under load — the engine is making the same heat but the turbo can’t convert it into boost.
What Are the Symptoms of a Cracked 6.4L Up-Pipe?
Four signs, and they usually show up together:
- A hiss, whistle, or screech under acceleration that gets louder as boost builds and fades when you lift off.
- Black soot behind the engine. Escaping exhaust leaves carbon tracing around the cracked bellow, the manifold flanges, or the firewall. This is the most reliable physical evidence.
- Slow turbo spool and low boost. The truck feels lazy, boost builds late, and it struggles to pull a grade.
- Exhaust smell in the cab or engine bay. Because the up-pipes sit near the firewall, escaping gas can find its way into the cab air intake.
One warning worth taking seriously: a cracked up-pipe is not something to ignore. Those pipes are blowing hot exhaust gas directly toward the firewall, and there are documented cases of 6.4L trucks catching fire when a crack was left to worsen. The “it’s just a tick” mindset is how a cheap gasket becomes a burned truck.
What Happens If You Ignore a Cracked Up-Pipe?
The symptoms are the first warning; the consequences are what follow if you keep driving on it. A cracked up-pipe is a pre-turbo leak, and everything downstream of that leak pays the price.
The Immediate Hit Is Performance
Exhaust energy that should be spinning the turbine is leaking into the engine bay, so the turbo spools slower and makes less boost. The truck feels lazy, struggles on grades, and burns more fuel trying to do the same work. Under load, that gap between what the engine is producing and what the turbo can convert shows up as black smoke from incomplete combustion.
The Serious Damage Is Heat
With less drive pressure reaching the turbine, the engine compensates by pushing harder — and exhaust gas temperatures climb, especially while towing. Sustained high EGT is what cooks turbochargers, exhaust valves, and in the worst case, pistons. A crack that starts as a whistle can end as a melted turbine or a cracked piston if the truck keeps pulling heavy loads with the leak unfixed.
Oil and Fuel Take A Hit Too
The ECM responds to low boost by adjusting fueling, which can lead to more fuel washing past the rings and diluting the oil. Diluted oil thins out, protects the bearings and turbo less, and accelerates wear throughout the engine — the same cascade that already gives the 6.4L its reputation for oil-related failures.
The Health and Safety Side
Because the up-pipes sit near the firewall, a leak can push exhaust gas into the cab air intake. Raw diesel exhaust in the cabin isn’t just unpleasant — it’s a real carbon monoxide and particulate exposure risk on a long drive.
And Then There’s the Fire Risk
The up-pipes carry exhaust at hundreds of degrees and direct it at the firewall, wiring, and under-hood plastics. A crack that grows — or a bellow that lets go entirely — can torch nearby components. It’s rare, but it’s documented, and it’s the single best reason to treat a screech under boost as urgent rather than a quirk to live with.
The short version: a cracked up-pipe won’t strand you today, but it’s silently raising EGTs, diluting your oil, and pointing a jet of hot exhaust at the firewall. Every mile you drive on it makes the eventual repair bigger.
How Do You Diagnose an Up-Pipe Leak?
Before you order anything, confirm the leak is actually an up-pipe — because low boost can come from several places, and shops misdiagnose it all the time.
-
Look for soot. Let the engine cool, then use a flashlight and an inspection mirror to check the bellows, flanges, and manifold-to-up-pipe gaskets for black carbon tracing. The soot is usually concentrated right at the crack.
-
Listen for when the noise happens. A pre-turbo leak tracks boost — quiet at idle, loud under load, gone at lift-off. A charge-air or intercooler leak can sound similar, so the soot check is what separates them.
-
Do a boost or smoke test. A smoke machine (or a soap-and-air boost leak test) pushed into the exhaust will make the leak visible. One real-world example found three separate leaks — a cracked passenger-side bellow, a loose VGT actuator seal, and a bad downpipe connection — by smoke-testing the whole system. It’s the fastest way to find every leak at once instead of guessing at one.
-
Check the EBP sensor tube. The exhaust back pressure sensor reads through a small stainless tube into the up-pipe, and that tube is notorious for plugging with soot. A plugged tube makes the sensor read wrong and can mimic a boost problem even when the pipes are intact.
The key lesson from the shops: start with the leak test, not the parts cannon. One 6.4L owner bought a brand-new turbo and still had low boost and high EGTs — the real problem was a blown-out intercooler side that a proper boost leak test found in seconds.
What Makes a Good Replacement Up-Pipe?
If a bellow has cracked, the only real fix is replacement — and because access is so labor-intensive, the replacement needs to be built to last.
-
Material: T-304 stainless steel. The factory pipes are thin; a thick-walled 304 SS pipe resists warping, thermal splitting, and corrosion far better.
-
Bellows construction: This is the whole ballgame. Look for reinforced interlocking bellows with an internal sleeve — the sleeve protects the outer mesh from the high-velocity exhaust blast and stops the fatigue cracking that killed the original pipe.
-
Fitment: Confirm 2008-2010 model year, 6.4L engine, and your exact application (F-250/F-350/F-450/F-550). Pipes are built for specific configurations, and EGR vs no-EGR layouts are not interchangeable.
-
Sensor ports: Make sure the replacement has the bungs your truck needs — EBP and O2 locations — whether you’re running the stock sensors or sealing them off on a tuned truck.
2008-2010 6.4L Ford Powerstroke Diesel Heavy Duty Exhaust Up-Pipe
The 2008-2010 6.4L Powerstroke Up-Pipe is built to fix the exact failure that causes the screech. It’s made from thick-walled T-304 stainless steel with rigid machined flanges, and — most importantly — it uses reinforced interlocking bellows with solid internal sleeves that shield the outer mesh from the exhaust blast. That’s the design detail that stops the bellows from fatigue-cracking the way the factory ones do.
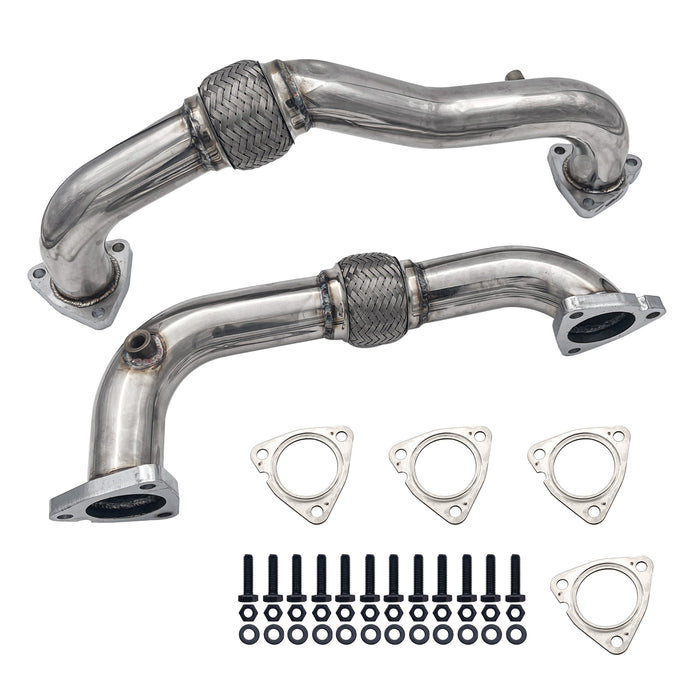
It’s a direct bolt-on for the 2008-2010 F-250 through F-550, including Cab & Chassis, and it keeps the exhaust drive pressure sealed inside the system so both the high- and low-pressure turbos spool the way they’re supposed to.
- If you’re on a stock truck, the factory sensors bolt right into the provided ports;
- if you’re running a delete tune, you seal them off with block-off plugs.
Because up-pipe replacement is such a tight firewall job, this is also the natural moment to handle the rest of the rear-engine emissions hardware — and to make sure any delete is done correctly so you don’t reintroduce the same crack.
Can You Replace Up-Pipes Cab-On?
Yes, but be honest about what you’re signing up for. The up-pipes sit behind the engine against the firewall, and access is genuinely tight.
- Cab-off gives the best access but needs a lift and real setup.
- Cab-on with the transmission removed opens up a lot of room but adds transmission labor.
- Cab-on, everything installed avoids major disassembly, but you’re working with limited fastener access and difficult gasket alignment.
In practice, plenty of owners do it cab-on by lifting the cab a few inches or working through the fender liner to reach the up-pipe bolts. The bellows have enough flex that you can often slide the new pipe into place without pulling the turbo.
How to Install a New 6.4L Up-Pipe
Replacing the up-pipes is an intermediate-to-advanced job — the parts are simple, but the access is the whole battle. Here’s the walkthrough drawn from real 6.4L up-pipe and manifold teardowns.
Tools You’ll Need
- Socket set and wrenches — 10mm, 13mm, 15mm, 18mm plus a 5mm for the small firewall stud
- Swivel socket and extensions for the tight rear-engine fasteners
- Penetrating oil (PB Blaster) applied the day before
- Floor jack and a block of wood to lift the cab a few inches
- Torque wrench
- Magnetic tray for the small bolts
- New gaskets and hardware before you start
Step 1: Prep the Truck
Disconnect both battery negatives, let the engine cool completely, and soak every up-pipe and manifold fastener in penetrating oil. Give it as long as you can — overnight is ideal, because seized hardware is the single biggest time sink on this job.
Step 2: Lift the Cab a Few Inches
You don’t need a full cab-off, but a few extra inches of clearance transforms the job. Loosen the cab mount bolts and use a floor jack under the running board (with a block of wood) to lift the cab slightly. A couple of inches is usually enough to reach the fasteners you couldn’t get at before. Just don’t over-lift — you’re after clearance, not a cab removal.
Step 3: Remove the Fender Liner for Access
Pull the passenger-side inner fender liner to reach the up-pipe bolts. Two of the manifold-side bolts are reachable from below, and the top one is a nut-and-stud while the rest are bolts. Removing the liner is what makes the lower fasteners accessible at all.
Step 4: Disconnect the EBP Sensor and Tube
The exhaust back pressure sensor reads through a small stainless tube threaded into the up-pipe. Disconnect and remove the sensor, and note where the tube threads in — you’ll either reuse it on the new pipe or, on a deleted truck, seal the port and relocate the sensor (see the EGR section below).
Step 5: Remove the EGR Crossover (If You’re Deleting)
If the truck is being deleted, this is the moment. The passenger-side up-pipe has the EGR crossover pipe welded to it, running to the EGR cooler. Remove the crossover entirely, block it off at the up-pipe end (not down at the cooler), and relocate the EBP sensor to the new block-off plate. Mounting the block-off at the wrong end is exactly what causes the unsupported crossover to crack again later.
Step 6: Unbolt the Old Up-Pipes
Work the manifold-side fasteners off first, then the turbo-side connection. Some are bolts, some are nuts on studs, and the rear ones are tight against the firewall — a swivel socket and a short extension are your friends here. The bellows have some flex, so you can often slide the old pipe free without pulling the turbo.
Step 7: Fit the New Up-Pipes
Set the new pipes in place and get the bellows centered on the manifold flanges before you tighten anything. This is the step that determines whether the new pipes seal or leak — an off-center bellows will bind, leak, and wear out early. Leave everything loose, align the flanges, then start the fasteners by hand.
Step 8: Torque in Stages
Tighten the manifold fasteners in a cross pattern in two passes to 18 ft-lbs — that’s a light spec, and over-tightening is a common mistake that distorts the flange and causes a fresh leak. Snug the turbo-side connection evenly, then go back and re-check the manifold side after everything has settled.
Step 9: Reassemble and Check for Leaks
Reinstall the sensors (with anti-seize on the threads), bolt the fender liner back in, and lower the cab. Start the truck and listen — at idle you shouldn’t hear anything, and under a quick throttle blip there should be no hiss or whistle. If you have a smoke machine or boost tester, this is the moment to confirm the seal before you call it done.
The Three Mistakes That Bring the Job Back
- Skipping the penetrating oil. Seized manifold studs snap, and then a pipe swap becomes a stud extraction. Soak early, soak often.
- Mounting the EGR block-off in the wrong spot. Down at the cooler end instead of the up-pipe end, and the unsupported crossover cracks again within months.
- Over-torquing the manifold. 18 ft-lbs is light. Crank past it and you distort the flange and recreate the leak you just fixed.

What Else Should You Check While You’re In There?
Because the access cost is so high, this is the moment to inspect everything nearby and do it once:
- Exhaust manifolds and gaskets. A warped manifold or a blown manifold-to-up-pipe gasket (the “little dorito gasket”) is a common companion to an up-pipe crack and can produce the same hiss.
- Manifold studs and hardware. Seized or snapped studs are almost guaranteed on a truck this age.
- The EBP sensor and tube. If the tube is sooted up, replace it while the pipes are out.
- Turbo-side sealing surfaces. Confirm the VGT actuator and turbo connections are sealed, since a loose seal there leaks the same way.
Doing all of it at once — up-pipes, gaskets, hardware, and the EGR side — spreads that heavy labor across a durable repair instead of paying it again in a few months.
Get the Right Up-Pipe for Your 6.4L
That screech under boost is your truck telling you the exhaust is leaking before the turbo — and the fix is a replacement up-pipe with reinforced bellows that won’t crack again. The SEG Heavy Duty Exhaust Up-Pipe is built from T-304 stainless with sleeved, interlocking bellows specifically to end that failure, and it bolts straight onto the 2008-2010 F-250 through F-550. Pair it with a proper EGR delete and you’ve removed two of the 6.4L’s most common failure points in one teardown — browse the full Powerstroke collection to match the rest of your build.
Frequently Asked Questions
Q1: Why does my 6.4L screech only under boost?
Because a cracked up-pipe leaks exhaust gas before it reaches the turbo, and the leak only becomes audible when boost pressure forces gas through the crack. It’s quiet at idle, builds under acceleration, and disappears when you lift off the throttle.
Q2: Is the screech a sign my turbo is blown?
Usually not. A cracked up-pipe produces a high-pitched whistle that tracks boost, while a failing turbo sounds more like a grinding or whining. Soot tracing around the bellows is the tell that it’s a pipe, not the turbo.
Q3: What’s the difference between an up-pipe and a downpipe leak?
An up-pipe leak is pre-turbo — exhaust escapes before the turbine, so it sounds like a sharp whistle and causes slow spool and low boost. A downpipe leak is post-turbo and sounds deeper and more pulsing, with less effect on boost.
Q4: Why do factory 6.4L up-pipes crack so often?
The OEM bellows are thin, single-layer, and unreinforced. Constant thermal expansion and contraction work-hardens the metal until it splits. Reinforced bellows with internal sleeves are the fix.
Q5: Does an EGR delete cause up-pipes to crack?
It can, if done wrong. The EGR cooler acts as a structural support for the passenger-side up-pipe assembly. If the block-off plate is mounted at the wrong end after a delete, the unsupported crossover pipe cracks at its bracket. The block-off must go at the up-pipe end, with the EBP sensor relocated.
Q6: Can I replace up-pipes without pulling the cab?
Yes. Cab-on replacement is possible, though access is tight. Many owners lift the cab a few inches or work through the fender liner, and the bellows often have enough flex to slide the new pipe into place without removing the turbo.
Q7: What should I check besides the up-pipe?
Exhaust manifolds and gaskets, manifold studs, the EBP sensor and tube, and the turbo-side sealing surfaces. A blown manifold gasket produces the same hiss, so inspect everything while you have access.
Q8: How do I find the exact leak?
Look for soot tracing around the bellows and flanges, note when the noise appears, and run a smoke test or boost leak test. A smoke machine makes every leak visible at once instead of guessing at one.
Q9: Is a cracked up-pipe dangerous to drive on?
Yes. The up-pipes blow hot exhaust gas toward the firewall, and there are documented cases of trucks catching fire when a crack was left to worsen. Treat the screech as urgent.
Q10: What material should a replacement up-pipe be?
T-304 stainless steel. Thick-walled 304 SS resists warping, thermal splitting, and corrosion far better than the thin factory pipes.
Q11: Do I need a tune to replace the up-pipe?
If you’re keeping the truck stock, no — the sensors bolt into the new pipe’s ports and no tune is needed. If you’re running a delete tune, you’ll seal the ports off and the tune handles the disabled sensors.
Q12: Should I delete the EGR at the same time as replacing the up-pipes?
It’s strongly recommended. Since the up-pipe job already requires a tight firewall teardown, doing the EGR delete at the same time fixes two major failure points — cracked bellows and the leaking EGR cooler — in one round of labor.
For off-road / competition use only. Not legal for on-road use in emissions-regulated areas. Check your local, state, and federal laws before modifying any emissions-related component.
Featured collection
-
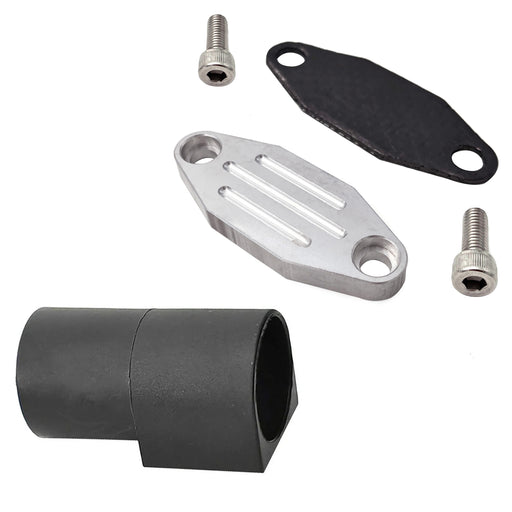
Seguler 1986-1995 Ford F150 F250 F350 Mustang Trucks EGR Simulator Eliminator / Block Off Plate Kit
SEGULEROriginal price $79.99 - Original price $79.99Original price$79.99$79.99 - $79.99Current price $79.99Block Off Plate Material: Aluminum alloy. Easy installation,and convenient to use. Made of CNC milled from aircraft grade Billet aluminum. Will N...
View full details -

Seguler 2011-2023 6.7L Ford Powerstroke Diesel EGR Delete Kit
SEGULEROriginal price $109.99 - Original price $109.99Original price$109.99$109.99 - $109.99Current price $109.99FITMENT 2011-2023 6.7L Ford Powerstroke F-250 F-350 F-450 F-550 Super Duty V8 Diesel. compatible with both standard Pickups and commercial Cab &...
View full details -
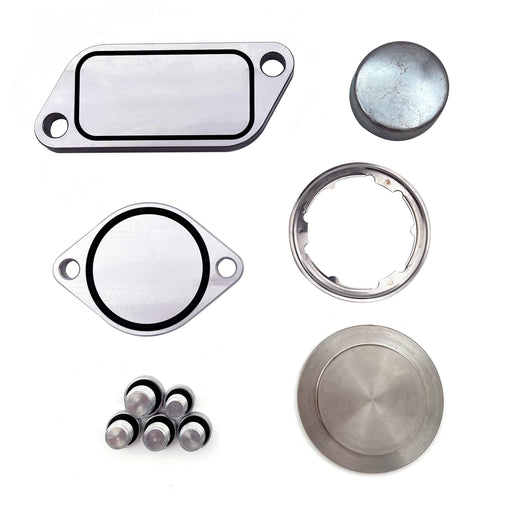
For 2010-Present Stage 2 ISX 15 CM2250 CM2350 EGR Delete Kit
SEGULEROriginal price $59.99 - Original price $59.99Original price$59.99$59.99 - $59.99Current price $59.99FITMENT 2010-Present Cummins Volvo, Peterbilt, Mack, International, Freightliner, Kenworth with the ISX15 CM2250 / CM2350 engines. DESCRIPTION P...
View full details -
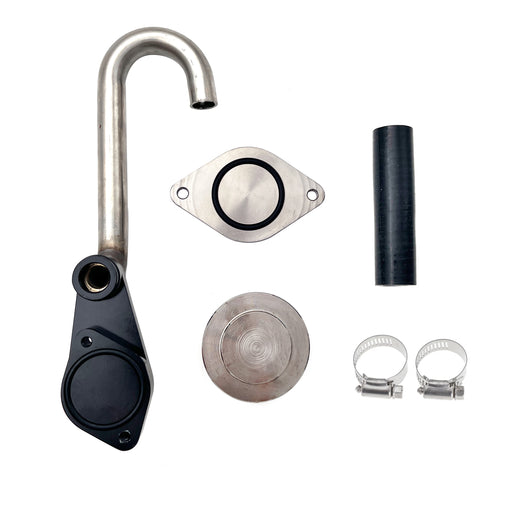
Seguler 2003-2007 6.0L FORD Powerstroke Diesel EGR Cooler Delete Kit
SEGULEROriginal price $56.14 - Original price $56.14Original price$56.14$56.14 - $56.14Current price $56.14FITMENT 2003-2007 6.0L Ford F-250 Ford F-350 F-450 F-550 Super Duty. 2003-2007 6.0L Ford Excursion SUV (Diesel Models Only). 2005-2010 Ford E-Se...
View full details -
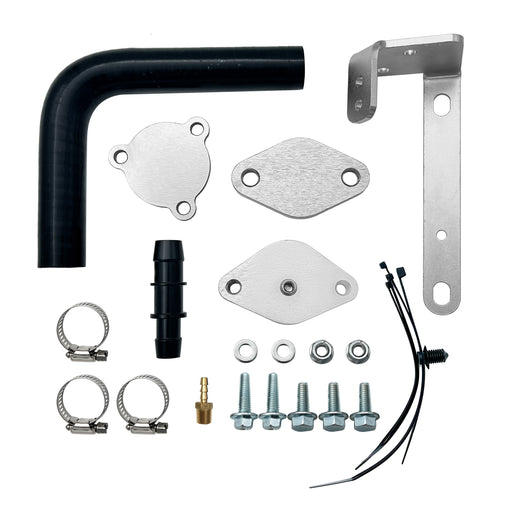
Seguler For 2014-2019 3.0L Dodge Ram 1500 EcoDiesel EGR Valve & Cooler Delete Kit
SEGULEROriginal price $72.99 - Original price $72.99Original price$72.99$72.99 - $72.99Current price $72.99FITMENT 2014-2019 3.0L Dodge Ram 1500 EcoDiesel V6 engine trucks. DESCRIPTION Product Overview Exhaust gas recirculation on 3.0L EcoDiesel V6 ...
View full details -
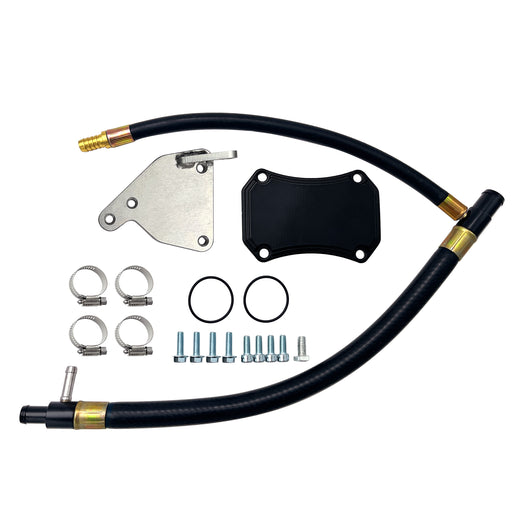
For 2011-2016 6.6L GMC Chevy Duramax Diesel LML EGR Valve Cooler Delete Kit
SEGULEROriginal price $66.49 - Original price $66.49Original price$66.49$66.49 - $66.49Current price $66.49FITMENT 2011-2016 6.6L Chevy GMC Duramax LML 2500 HD 3500 HD Diesel. DESCRIPTION Product Overview The 2011–2016 LML Duramax uses a complex EG...
View full details -

Seguler 2011-2023 6.7L Ford Powerstroke Diesel EGR Delete Kit
SEGULEROriginal price $85.99 - Original price $85.99Original price$85.99$85.99 - $85.99Current price $85.99FITMENT 2011-2023 6.7L Ford Powerstroke F-250 F-350 F-450 F-550 Super Duty V8 Diesel. compatible with both standard Pickups and commercial Cab &...
View full details -

Seguler 2010-2024 6.7L Dodge Ram Cummins Diesel EGR Valve Cooler Delete Kit
SEGULEROriginal price $89.99 - Original price $89.99Original price$89.99$89.99 - $89.99Current price $89.99FITMENT 2010–2024 6.7L Dodge Ram Cummins 2500 / 3500 Pickup Turbo Diesel. Note: Does NOT fit Chassis Cab 3500 / 4500 / 5500 models. DESCRIPTIO...
View full details -

Seguler 2017-2019 L5P Duramax Diesel 4pcs L5P Can Bus Plugs Connector Replacement
SEGULEROriginal price $75.00 - Original price $75.00Original price$75.00$75.00 - $75.00Current price $75.00FITMENT 2017–2019 Chevrolet Silverado / GMC Sierra Duramax L5P 2500HD & 3500HD Diesel. DESCRIPTION Product Overview Unprotected harness con...
View full details -
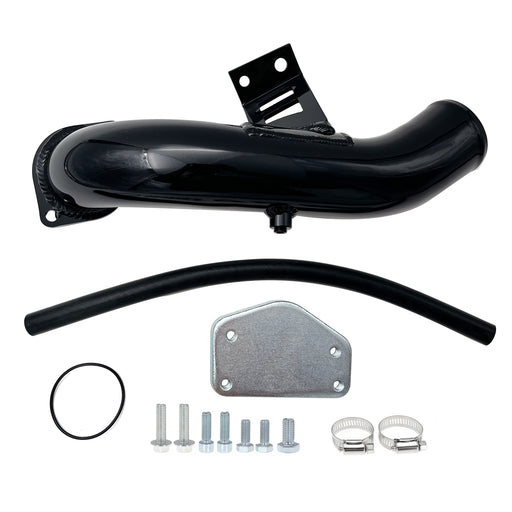
For 2004.5-2005 6.6L Chevy GMC Silverado LLY Duramax Diesel EGR Delete Kit
SEGULEROriginal price $92.99 - Original price $92.99Original price$92.99$92.99 - $92.99Current price $92.99FITMENT 2004.5-2005 6.6L Chevrolet Silverado Duramax LLY 2500HD / 3500 HD. 2004.5-2005 6.6L GMC Sierra Duramax LLY 2500HD / 3500 HD. DESCRIPTION...
View full details -

Seguler 2020-2023 chevy duramax L5P Diesel Can Bus Plugs Connector
SEGULEROriginal price $80.00 - Original price $80.00Original price$80.00$80.00 - $80.00Current price $80.00FITMENT 2020–2023 Chevrolet Silverado / GMC Sierra Duramax L5P 2500HD & 3500HD Diesel. DESCRIPTION Product Overview Unprotected harness pl...
View full details -
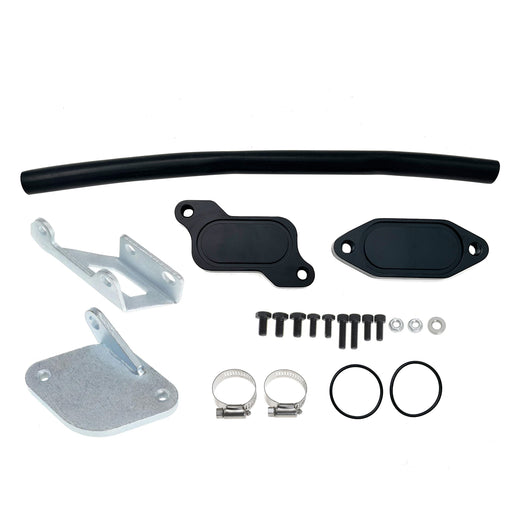
For 2006-2007 6.6L Chevrolet Silverado Classic GMC Duramax LBZ Diesel EGR Valve Cooler Delete Kit
SEGULEROriginal price $63.49 - Original price $63.49Original price$63.49$63.49 - $63.49Current price $63.49FITMENT 2006-2007.4 Chevrolet Silverado Duramax LBZ 2500HD / 3500HD. 2007.4 Chevrolet Silverado Duramax LBZ 2500HD / 3500HD Classic. 2006-2007.4 ...
View full details -

Seguler 2011-2023 6.7L Ford F250 F350 F450 F550 Powerstroke Diesel EGR Valve Delete Cooler Delete Kit
SEGULEROriginal price $55.99 - Original price $55.99Original price$55.99$55.99 - $55.99Current price $55.99FITMENT 2011-2023 6.7L Ford Powerstroke F-250 F-350 F-450 F-550 Super Duty V8 Diesel compatible with both standard Pickups and commercial Cab &a...
View full details -
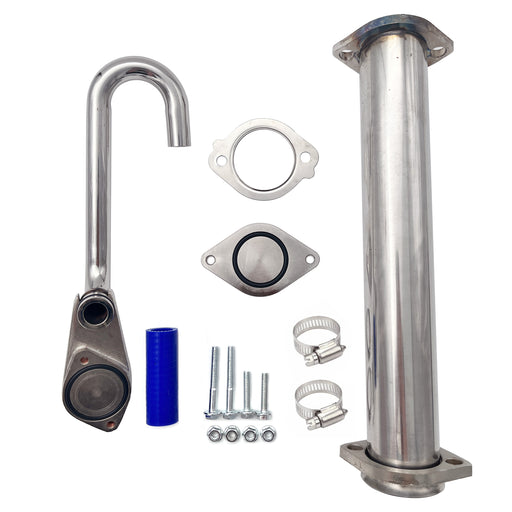
Seguler 2003-2007 6.0L Ford F250 F350 Powerstroke Diesel EGR Basic Cooler Kit
SEGULEROriginal price $79.99 - Original price $79.99Original price$79.99$79.99 - $79.99Current price $79.99FITMENT 2003-2007 6.0L Ford F250 F350 F450 F550 Super Duty Turbo (except 2004 F250 Super Duty). 2003-2005 6.0L Ford Excursion Turbo. 2005 Ford F...
View full details -
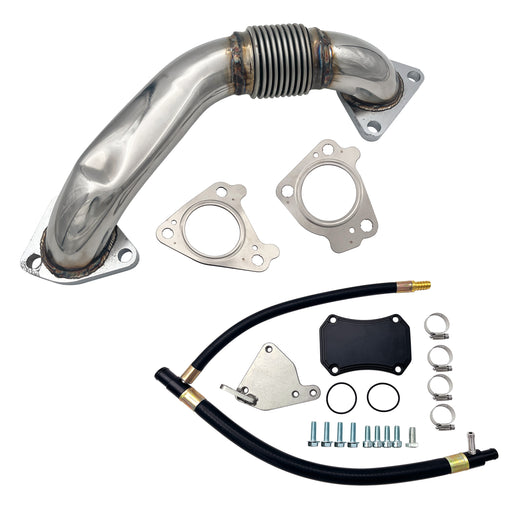
Seguler 2011-2016 6.6L GMC Chevy Duramax Diesel LML Up-Pipe & EGR Valve Cooler Delete Kit
SEGULEROriginal price $173.86 - Original price $173.86Original price$173.86$173.86 - $173.86Current price $173.86FITMENT 2011-2016 6.6L Chevy GMC Duramax LML 2500 HD 3500 HD Diesel. DESCRIPTION Product Overview Direct-injection technology endows GM 5.3L an...
View full details -
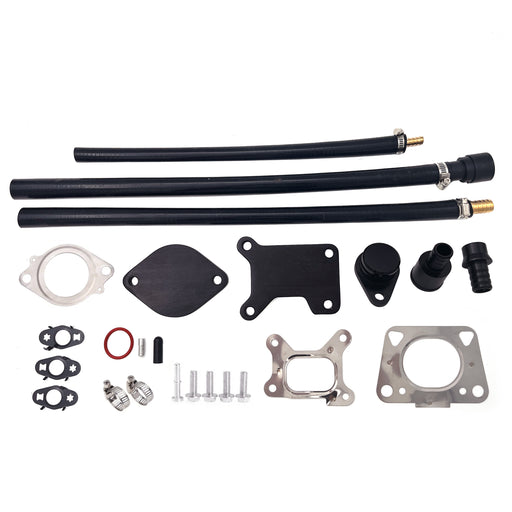
For 2017-2023 6.6L Chevy GMC Duramax L5P diesel EGR Valve Cooler Delete kit
SEGULEROriginal price $131.99 - Original price $131.99Original price$131.99$131.99 - $131.99Current price $131.99FITMENT 2017–2023 6.6L Chevrolet Silverado / GMC Sierra Duramax L5P 2500HD 3500HD Diesel. DESCRIPTION Product Overview Hot soot recirculation ...
View full details -
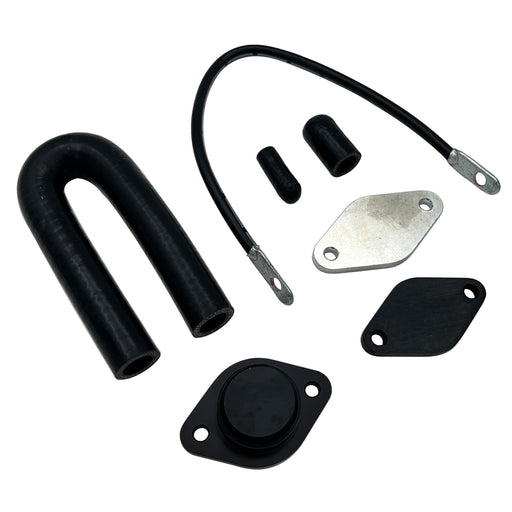
Seguler EGR valve cooler Delete kit for 2020-2022 3.0L Chevy Duramax LM2
SEGULEROriginal price $189.12 - Original price $189.12Original price$189.12$189.12 - $189.12Current price $189.12FITMENT 2020–2022 3.0L Chevrolet Silverado GMC Sierra 1500 LM2 Turbo-Diesel. DESCRIPTION Product Overview Powered by smooth inline-six engine...
View full details -
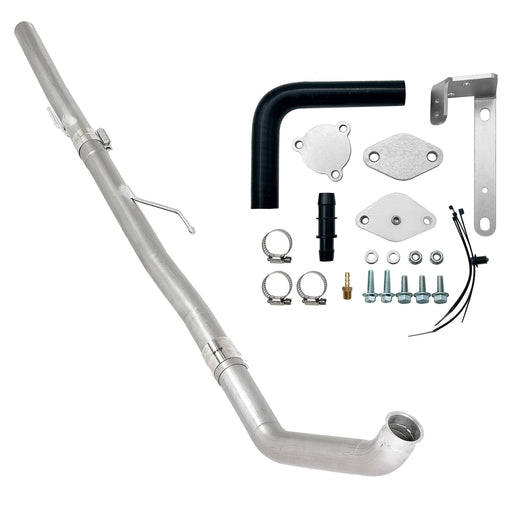
Seguler 3" Ecodiesel DPF Delete Pipe & EGR Delete kit for 2014-2018 3.0L Ram
SEGULEROriginal price $342.00 - Original price $342.00Original price$342.00$342.00 - $342.00Current price $342.00FITMENT 2014–2018 3.0L Dodge Ram 1500 EcoDiesel V6. NOTE: Fit standard Pickup models only (Crew Cab, Quad Cab). Does NOT fit Jeep Grand Cheroke...
View full details -

For 2013-2023 6.7L Dodge Ram Cummins Cab & Chassis EGR Delete Kit Diesel
SEGULEROriginal price $62.99 - Original price $62.99Original price$62.99$62.99 - $62.99Current price $62.99FITMENT 2013–2023 6.7L Ram Cummins 3500 4500 5500 Cab & Chassis / Commercial Trucks. Does NOT fit standard Ram 2500 3500 Pickups. DESCRIPTIO...
View full details -
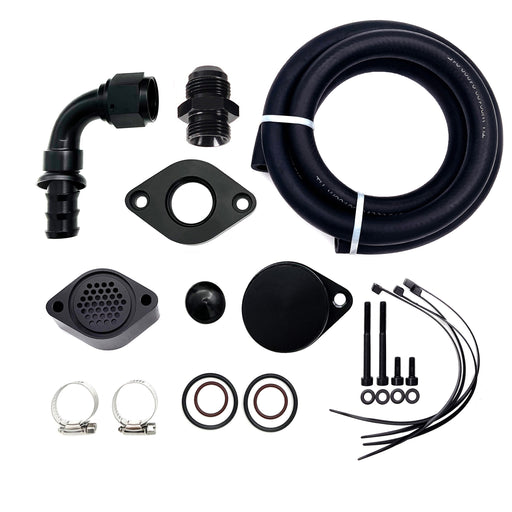
Seguler 2011-2023 6.7L Ford Powerstroke CCV PCV Reroute Engine Ventilation Kit
SEGULEROriginal price $82.99 - Original price $82.99Original price$82.99$82.99 - $82.99Current price $82.99FITMENT 2011-2023 6.7L Ford Powerstroke F-250 F-350 F-450 F-550 Super Duty V8 Diesel. Compatible with both standard Pickups and commercial Cab &...
View full details -
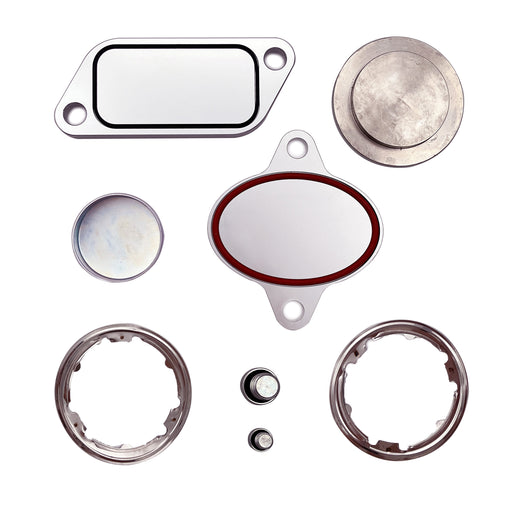
For 2007-2010 Cummins ISX CM871 EGR Plug Kit Stage 2 Plates and Plugs Aluminum
SEGULEROriginal price $67.99 - Original price $67.99Original price$67.99$67.99 - $67.99Current price $67.99FITMENT 2007-2010 Cummins Volvo, Peterbilt, Mack, International, Freightliner, Kenworth with the ISX CM871 Engines. DESCRIPTION Product Overvie...
View full details -
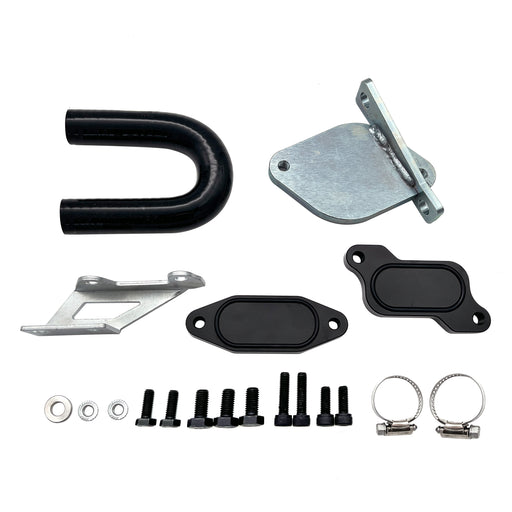
For 2007-2010 6.6L Chevy GMC LMM Duramax EGR Valve Cooler Delete Kit Fit
SEGULEROriginal price $61.99 - Original price $61.99Original price$61.99$61.99 - $61.99Current price $61.99FITMENT 2007.5-2010 6.6L Chevrolet Silverado Duramax LMM 2500HD / 3500HD. 2007.5-2010 6.6L GMC Sierra Duramax LMM 2500HD / 3500HD. Note: Standard...
View full details -
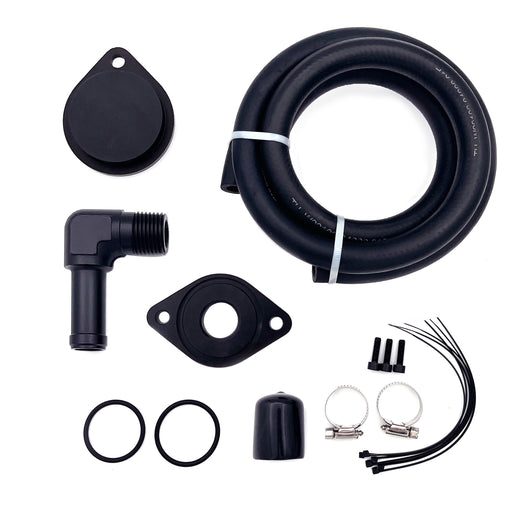
Seguler 2011-2023 Ford 6.7L Powerstroke CCV/PCV Reroute/Delete Engine Ventilation Kit
SEGULEROriginal price $72.00 - Original price $72.00Original price$72.00$72.00 - $72.00Current price $72.00FITMENT 2011-2023 6.7L Ford Powerstroke F-250 F-350 F-450 F-550 Super Duty V8 Diesel. Compatible with both standard Pickups and commercial Cab &...
View full details -
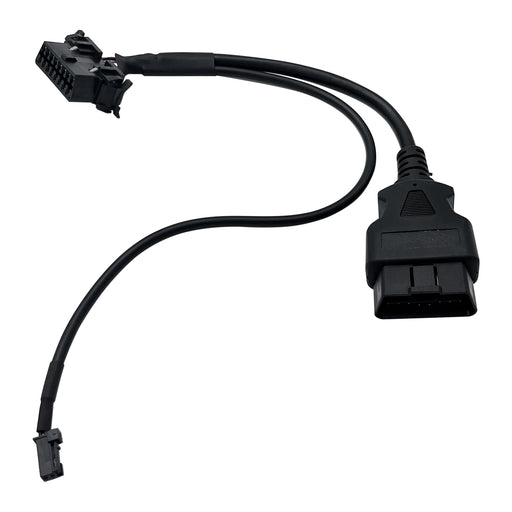
Seguler 2018+ RAM Cummins OBD2 HD Security Gate Bypass Cable
SEGULEROriginal price $45.00 - Original price $45.00Original price$45.00$45.00 - $45.00Current price $45.00FITMENT 2018+ 6.7L Ram Cummins 2500 3500 Turbo Diesel. Designed for Ram pickup trucks equipped with the factory Security Gateway Module. Note: Pl...
View full details -
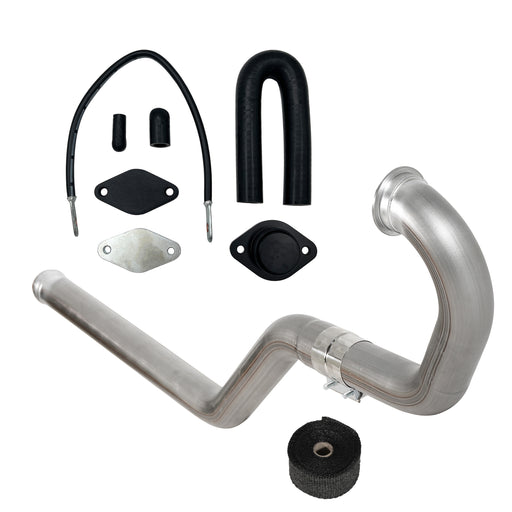
3" Turbo Back DPF & EGR Delete Kit for 2020-2022 GM 3.0L LM2 Duramax
SEGULEROriginal price $550.00 - Original price $550.00Original price$550.00$550.00 - $550.00Current price $550.00FITMENT 2020–2022 3.0L Chevrolet Silverado 1500 LM2 Diesel. 2020–2022 3.0L GMC Sierra 1500 LM2 Diesel. DESCRIPTION Product Overview On the 3.0...
View full details


Leave a comment