

6.4L Powerstroke DPF Delete vs Cleaning — Honest Cost & Comparison
Before you spend a dollar on a DPF clean or a DPF delete, there’s one distinction that decides the whole job: soot versus ash. Most “my DPF is clogged” complaints on the 6.4L are actually a regen problem — a $150 sensor or a short-trip driving habit — not a filter that needs cleaning or removing. A clean or a delete done for the wrong reason is money spent in the wrong place. Here’s the honest breakdown of what each option costs, what it fixes, and what it doesn’t.
For off-road / competition use only. Not legal for on-road use in emissions-regulated areas. Check your local, state, and federal laws before modifying any emissions-related component.
What the DPF Does — and the Soot vs Ash Divide
The diesel particulate filter is an inline filter in the exhaust that traps soot particles before they reach the tailpipe. When it fills, the engine regenerates: it injects extra fuel after combustion to push exhaust temperatures over 1,000°F and burn the soot off.
The distinction that everything hinges on:
-
Soot is the black carbon from incomplete combustion. It’s burnable — regen turns it into ash and gas.
-
Ash is what’s left after soot burns: inorganic residue from oil additives, fuel impurities, and trace engine-wear metals. Ash does not burn. It accumulates permanently and can only be removed by physically cleaning or replacing the substrate.
This is why a truck that “fills the DPF to 100% in 200 miles” usually does not need a clean. That’s a soot-loading problem, which is a regen problem — the truck isn’t completing its regeneration cycles. The DPF needs cleaning or replacement only when it’s loaded with ash, which happens gradually over 100,000+ miles of hard use.
Diagnose First: Why Most DPF Problems Aren’t the Filter’s Fault
The single most expensive mistake on a 6.4L is throwing a clean or a delete at a problem that lives somewhere else. Here’s what’s actually upstream of a “clogged” DPF, in order of how often we see it:
-
Sensors (30–40% of DPF complaints). The exhaust back-pressure sensor (P0471) and the DPF differential-pressure sensor (P2452) fail constantly. A bad sensor feeds the PCM false restriction data, triggering unnecessary regens — or blocking them. A $150 sensor is the fix.
-
Faulty injectors (the #1 mechanical cause). A leaking or over-fueling injector makes incomplete combustion, dumping soot far faster than the DPF can burn it. Fix the injector, or the new/cleaned filter clogs again just as fast.
-
Turbo seal leaks. Oil leaking past a turbo seal into the exhaust doesn’t burn off in regen — it turns to ash that packs the substrate solid. This is an engine-health problem, not a filter problem.
-
A sticking EGR valve. A carboned, stuck-open EGR recirculates soot back into the intake, feeding the problem into itself.
-
Short trips and idle time. Regen needs sustained heat — roughly 30 mph or above for 20 to 40 minutes. Constant short trips mean the truck never completes a regen, so soot keeps stacking.
The takeaway: read the codes, check the sensors, and watch the regen behavior before you touch the DPF. P242F, P2452, and P0471 each point somewhere specific. A filter that regens cleanly but “fills” fast is telling you something upstream is wrong.
Option 1: Cleaning the DPF
Cleaning makes sense when the filter is loaded with ash — the residue that regen can’t remove — or when a regen failure has left it soot-plugged. There are three real approaches, and they’re not equal.
Professional Off-truck Cleaning ($400–$1,000)
The filter comes off and gets one of two treatments: pneumatic (compressed air cycled through the cells to blow out ash) or thermal bake-and-blow (heated in an oven to burn residual hydrocarbons, then pneumatically cleaned). Thermal is the more thorough option for heavily loaded filters. This restores roughly 80% of original flow and buys another year or two — but it does nothing for the upstream cause.
Chemical or DIY Flushing
On-car chemical cleaners and water-flush methods can dislodge soot deposits and get you through a month or two in a pinch, but they can’t touch the inorganic ash that’s the real long-term problem. Treat these as a stopgap, not a repair.
The honest bottom line on cleaning: it’s the legal, low-risk path, and it’s right when the filter is genuinely ash-loaded at high mileage. But if the truck keeps filling with soot, cleaning just delays the underlying repair.
Option 2: Deleting the DPF
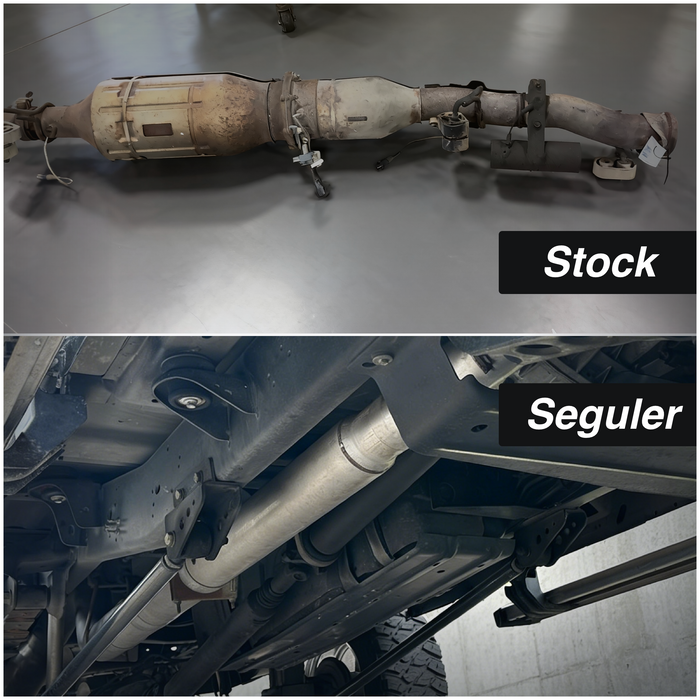
A delete removes the DPF and catalytic converter section entirely, replacing it with a straight pipe, and pairs it with a tune that disables the regen strategy. On the 6.4L this is a two-part job: the pipe opens the flow, the tune makes the truck accept the change.
What a Delete Actually Buys You:
-
No more regen cycles — which is the real win. Regen on the 6.4L is what dumps post-injection fuel past the rings and dilutes the oil, and it’s the heat source that cooks the turbos.
-
Lower exhaust backpressure and EGTs — most noticeable under load and towing.
-
Crisper throttle response — with a proper tune.
-
Simpler, cooler engine bay — especially if the EGR comes out at the same time.
What a Delete Doesn’t Buy You:
-
Horsepower on its own. The pipe doesn’t add power — the tune does. Any 100–200 HP claim is a tuned number, not a pipe number.
-
A fix for a tired engine. If the truck already has blow-by, coolant loss, low compression, a bad injector, or turbo wear, deleting the DPF hides none of it. A delete removes one failure point; it doesn’t rebuild the engine.
| Problem | Does a delete fix it? |
|---|---|
| Cracked piston | No |
| Heavy blow-by | No |
| Bad injector | No |
| Weak high-pressure fuel pump | No |
| Head gasket issue | No |
| Turbo wear | No |
| Slipping transmission | No |
| EGR cooler failure | Yes — if you delete the EGR too |
The 6.4L’s reputation comes from more than its DPF. It runs a compound twin-turbo setup (a small high-pressure turbo feeding a large low-pressure one), and its pistons and head gaskets are known weak points under heat.
Option 3: Replacing the DPF
Replacement runs $1,500–$4,000 for the part plus labor, and it’s the weakest value of the three for one simple reason: it doesn’t address the root cause. If the original filter died because of a bad injector or a leaking turbo seal, the new one clogs on the same schedule.
The Honest Cost Comparison
| Fix | Cost | What It Fixes | Lasts |
|---|---|---|---|
| Sensor replacement | $100–$500 | The actual cause in 30–40% of cases | 1–3 years |
| Professional DPF clean | $400–$1,000 | Ash/soot in the filter only | 1–2 years |
| DPF replacement | $1,500–$4,000 | Worn-out filter | 2–5 years, if root cause fixed |
| DPF delete (pipe + tune) | ~$550–$1,450 | Removes regen and the failure point | Permanent (off-road only) |
The delete’s upfront cost lands in the middle — a 4" Cat & DPF delete pipe is the budget mid-section replacement at $152.49, and a 5" downpipe-back delete pipe is the full-system option at $649.99, both T409 stainless. Add $400–$800 for a delete tuner, and you’re looking at roughly $550–$1,450 all-in — comparable to a single DPF replacement, but without the regen cycle that will keep eating oil and heat-soaking the engine.
How to Decide: Clean, Replace, or Delete
With the costs on the table, the decision comes down to three questions, asked in order. Answer them honestly and the right path is usually obvious.
1. Is the Truck Street-driven or Off-road?
This one rules out the delete immediately. If the truck is registered, inspected, or driven on public roads, removing the DPF violates the Clean Air Act and can carry fines up to $5,911. For a street truck, the choice is between clean and replace — period.
2. Is it soot or ash?
If the filter “fills up” fast (frequent regens, a 200-mile fill, P242F), that’s a soot problem — and the fix is upstream, not in the filter. Diagnose the sensors, injectors, and turbo seals first. If the filter is at high mileage and genuinely loaded with ash that regen can’t remove, then a clean or replace is actually on the table.
3. Is the engine healthy?
A delete removes one failure point — it doesn’t rebuild the engine. If the truck already has blow-by, coolant loss, a weak injector, or turbo wear, a delete hides none of it. Fix the engine first, then decide whether the DPF work is even worth doing.
The delete costs a bit more than a clean up front, but it’s the only option that ends the regen cycle permanently — which, on a 6.4L, is the part that matters most.

How to Install the Delete Pipe: Step by Step
A 6.4L DPF delete is a driveway job — roughly an hour for someone who’s done it, two to three hours the first time. The pipe is usually two pieces with a slip-fit joint and a band clamp. Here’s the full walkthrough, with the tool sizes and the spots that’ll fight you.
Tools You’ll Need
- 15mm and 17mm sockets for the DPF bolts and nuts, plus an extension and a swivel
- 13mm wrench/socket for the exhaust gas temperature sensor
- Penetrating oil (PB Blaster or similar) — apply it to every bolt before you start
- Ratchet strap — the trick for separating a stuck slip-fit joint
- Heat (torch) and an impact — for the one rusted clamp that won’t budge
- Putty knife — to lift the fragile exhaust gasket
- Lubricant — to help the hanger donuts slide on
Step 0: Tune First
Flash the delete tune into the PCM before you unbolt anything. This is non-negotiable — driving a deleted pipe on a stock tune throws codes and drops the truck into reduced power. Get the tuner (Mini Maxx is the common pairing) sorted first, then turn wrenches.
Step 1: Soak the Fasteners
Spray penetrating oil on every bolt and nut you’re about to touch — the DPF flange bolts, the bracket nuts, and especially the exhaust gas temperature sensor. The sensor threads are easy to strip, so give them the longest soak.
Step 2: Remove the Rear Bolt, Then the Front Nuts
- Remove the bolt at the rear of the DPF first.
- Then remove the nuts on the front of the filter.
- The very top nut is the hard one. It’s double-nutted and holds the bracket to the DPF pressure sensor. Get the outer nut off, slide the bracket free, then remove the second nut.
Step 3: Disconnect the EGT Sensor
Unplug the exhaust gas temperature sensor connector and leave it with the filter for now — you’ll swap it into the new pipe later. Don’t force it off; if it’s stuck, a little more penetrating oil and patience beats a stripped sensor.
Step 4: Free the Hangers and Slide the Assembly Out
- Remove the hanger donuts (a little lube helps them slide off).
- Slide the whole DPF assembly toward the rear of the truck — this pulls the bolts free from the rear of the catalytic converter.
- Lift the filter out.
The slip-fit is where the fight usually is. If the section won’t separate, hook a ratchet strap to the frame rail and ratchet the assembly rearward against the rubber hangers — they have enough play to get it back — until the slip joint releases. A rusted clamp may need heat and an impact.
Step 5: Move the EGT Sensor and Gasket
- Remove the EGT sensor from the old filter with a 13mm, turning slowly so you don’t strip the threads.
- Lift the exhaust gasket off with a putty knife — it’s fragile, so go gently. Reuse it if it’s in good shape, or replace it.
Step 6: Install the New Pipe
- Insert the rear of the new pipe into the tailpipe section first.
- Line up the bolts into the rear of the catalytic converter.
- Put the long bolt in the very top — it holds the bracket to the DPF pressure sensor with the double nut.
- Install the EGT sensor and snug it (don’t overtighten), then reconnect the connector.
- Slide the hanger donuts back on with a little lube, and tighten everything down.
Step 7: Check and Road Test
Walk every bolt and clamp once more, make sure the EGT connector is seated, and confirm the pipe isn’t rubbing a hanger or the frame. Then fire it up and listen for leaks — the twin-turbo spool and the deeper exhaust note will be obvious. Watch the gauges on the first drive.
The 6.4L’s Oil Dilution Problem — Why the Delete Matters More Here
The 6.4L has a problem that most other platforms don’t share to the same degree, and it’s the strongest argument for a delete on this specific engine: fuel dilution.
Here’s the Mechanism
During a DPF regeneration, the engine injects extra fuel after combustion. Some of that unburned fuel doesn’t stay in the exhaust — it migrates past the piston rings and into the crankcase, where it dilutes the engine oil.
Diesel-diluted oil loses its viscosity and its ability to protect the bearings, rings, and cam lobes. On a stock 6.4L that regenerates often — and short-trip, plowing, or stop-and-go trucks regenerate constantly — owners routinely have to cut their oil change interval to 3,000–5,000 miles just to stay ahead of the contamination.
The telltale signs: an oil level that reads higher than it should on the dipstick, a diesel smell on the stick, and oil that looks thin or darker than normal between changes.
This Is Why the Delete Is a Bigger Deal
A delete doesn’t just remove a filter — it stops the post-injection fueling that causes the dilution in the first place. No regen means no extra fuel washing the cylinder walls and thinning the oil. That’s a reliability win you can’t get from a clean or a replacement, both of which leave the regen strategy running.
The Two Delete Pipes, Compared
The choice between the two SEGULER pipes comes down to how far you want to go. Here’s each one on its own terms, then the call between them.
The 4" Cat & DPF Delete Pipe
The 4" Cat & DPF delete pipe is the budget mid-section replacement. It swaps out the heavy catalytic converter and DPF assembly for a smooth, mandrel-bent 4" T409 stainless pipe, and bolts straight to your factory 4" tailpipe — so you get the regen-killing, EGT-dropping, twin-turbo-sound benefits without paying for a full exhaust system.
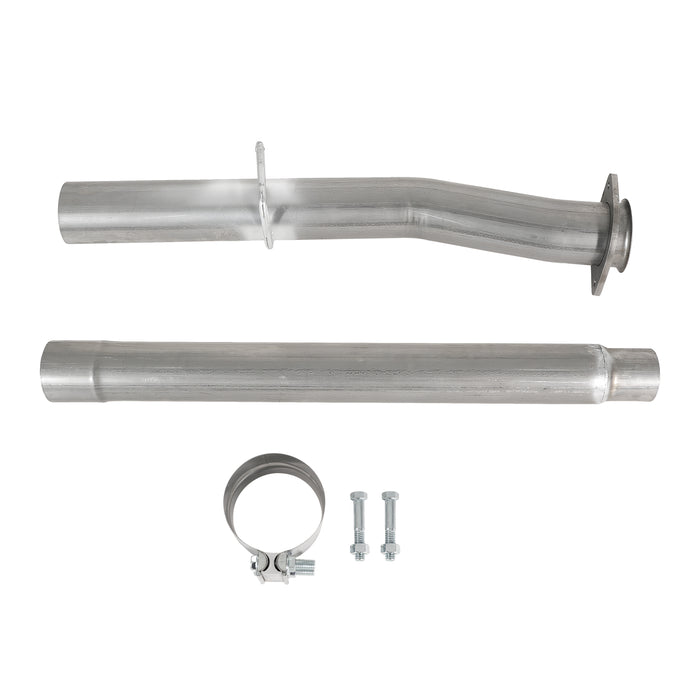
- Fitment: 2008–2010 6.4L F-250 / F-350 / F-450 / F-550, and it fits both standard beds and Cab & Chassis commercial trucks.
- What you keep: your factory tailpipe, since it’s a mid-section-only swap.
- What you’ll need: a delete tuner (Mini Maxx V2 is the common pairing). The pipe has no sensor bungs, so you unplug the sensor harness, zip-tie it out of the way, and cap the connectors.
- Best for: the owner who wants to end the regen problem and the EGR-linked soot at the lowest entry cost — and anyone running a Cab & Chassis.
The 5" Downpipe-Back Delete Pipe
The 5" downpipe-back delete pipe is the full-flow option. It replaces everything behind the downpipe with 5" straight T409 stainless piping and deletes the muffler, so the exhaust moves at maximum volume from the turbos back.

- Fitment: 2008–2010 6.4L F-250 / F-350 / F-450, Crew Cab short-bed and long-bed only. It will not fit Cab & Chassis commercial flatbeds.
- What you get: maximum airflow for high-horsepower tunes, upgraded turbos, or heavy towing, plus the 5" diameter acting as a natural resonator for a deep, low-frequency V8 note and a loud twin-turbo scream under load.
- What you’ll need: a delete tuner, same as the 4". The system ends in a standard 5" OD tailpipe section with no decorative tip, but it accepts any aftermarket tip with a 5" inlet.
- Best for: high-horsepower builds, heavy towing where lowering EGTs matters most, and the loudest possible 6.4L sound.
The call: pick the 4" if you want the cheapest path to ending the regen cycle and you’re happy keeping the factory tailpipe (or you run a Cab & Chassis). Pick the 5" if you’re chasing maximum flow, running a big tune, or towing hard — just confirm it’s a Crew Cab before you order.
Frequently Asked Questions
Is a DPF clean or a delete cheaper?
A clean is cheaper up front ($400–$1,000 vs $550–$1,450 for a delete with a tuner), but a clean is temporary and doesn’t touch the upstream cause. The delete costs more once, but removes the regen cycle permanently.
Why does my 6.4L DPF fill up every 200 miles?
That’s a regen problem, not a filter problem. Check the exhaust back-pressure and differential-pressure sensors first, then the injectors and turbo seals. A filter that fills that fast is being fed soot by something upstream, or it isn’t completing regen — likely due to short trips.
What’s the difference between soot and ash in a DPF?
Soot is carbon from combustion, and regen burns it off. Ash is the inorganic residue left after soot burns, and it can’t be burned — it has to be physically cleaned or replaced. A soot-clogged filter points to a regen issue; an ash-loaded filter is normal high-mileage wear.
Will cleaning my DPF fix the problem for good?
Only if the filter was genuinely ash-loaded and the upstream cause is addressed. If a bad injector or turbo seal is still dumping soot, the cleaned filter clogs again in months. Clean the filter, and fix whatever fed it.
Does a DPF delete add horsepower?
The pipe doesn’t — the tune does. Any power gain comes from the recalibrated tune, not from removing the filter. The delete’s real wins are killing the regen cycle, lowering EGTs, and reducing backpressure.
Do I need a tuner with a DPF delete?
Yes, always. The 6.4L’s PCM watches the DPF sensors, and a pipe without a tune throws codes and drops the truck into reduced power. Flash the delete tune before you drive it.
What won’t a DPF delete fix on a 6.4L?
Cracked pistons, heavy blow-by, bad injectors, a weak fuel pump, head gasket issues, turbo wear, and a slipping transmission. A delete removes one failure point — it doesn’t rebuild the engine.
Why is the 6.4L so hard on DPFs?
The compound twin-turbo setup runs hot, and the emissions stack traps that heat. Regen cycles push temperatures over 1,000°F, and the post-injection fuel that powers them dilutes the oil. It’s a heat and fueling problem, not just a filter problem.
Is a DPF delete legal?
No, not for on-road use. Removing emissions equipment violates the federal Clean Air Act and can carry fines up to $5,911. Delete parts are for off-road, race, or competition use only.
Which is better, a 4-inch or 5-inch delete pipe?
The 4-inch replaces just the mid-section and bolts to your factory tailpipe — the budget option. The 5-inch replaces everything behind the downpipe for maximum flow, and it’s the pick for high-horsepower tunes and heavy towing. The 5-inch also runs louder.
Should I delete the EGR at the same time as the DPF?
If you’re going off-road, yes. The DPF and EGR are linked — leaving the EGR in place keeps feeding hot soot into the intake, and on the 6.4L the EGR cooler is a known failure point. Doing both at once is cleaner and saves a second teardown.
How long does a 6.4L DPF delete take to install?
About an hour for an experienced hand, two to three hours the first time. The hard parts are the top double-nut, the rusted clamp, and separating the slip-fit joint — a ratchet strap against the frame is the trick.
Conclusion: Get the Right Fix for Your 6.4L
The right move depends on what’s actually wrong: a $150 sensor, a clean, or a delete. If the filter is genuinely done and the truck is headed off-road, a 4" Cat & DPF delete pipe is the budget way to end the regen cycle, and a 5" downpipe-back delete pipe is the full-flow option for heavy builds. Pair either with a delete tuner, and fix the upstream cause first. Browse the full 6.4L lineup at Seguler.com.
Legal Disclaimer
For off-road / competition use only. Not legal for on-road use in emissions-regulated areas. Check your local, state, and federal laws before modifying any emissions-related component.
Featured collection
-
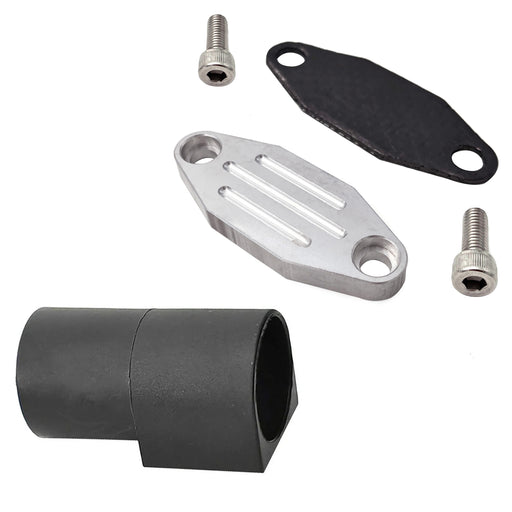
Seguler 1986-1995 Ford F150 F250 F350 Mustang Trucks EGR Simulator Eliminator / Block Off Plate Kit
SEGULEROriginal price $79.99 - Original price $79.99Original price$79.99$79.99 - $79.99Current price $79.99Block Off Plate Material: Aluminum alloy. Easy installation,and convenient to use. Made of CNC milled from aircraft grade Billet aluminum. Will N...
View full details -

Seguler 2011-2023 6.7L Ford Powerstroke Diesel EGR Delete Kit
SEGULEROriginal price $109.99 - Original price $109.99Original price$109.99$109.99 - $109.99Current price $109.99FITMENT 2011-2023 6.7L Ford Powerstroke F-250 F-350 F-450 F-550 Super Duty V8 Diesel. compatible with both standard Pickups and commercial Cab &...
View full details -
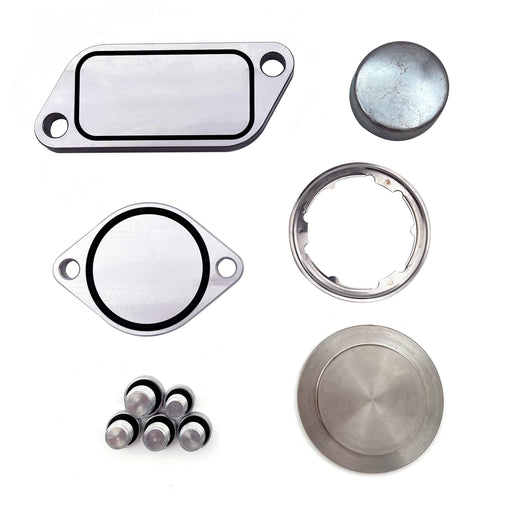
For 2010-Present Stage 2 ISX 15 CM2250 CM2350 EGR Delete Kit
SEGULEROriginal price $59.99 - Original price $59.99Original price$59.99$59.99 - $59.99Current price $59.99FITMENT 2010-Present Cummins Volvo, Peterbilt, Mack, International, Freightliner, Kenworth with the ISX15 CM2250 / CM2350 engines. DESCRIPTION P...
View full details -
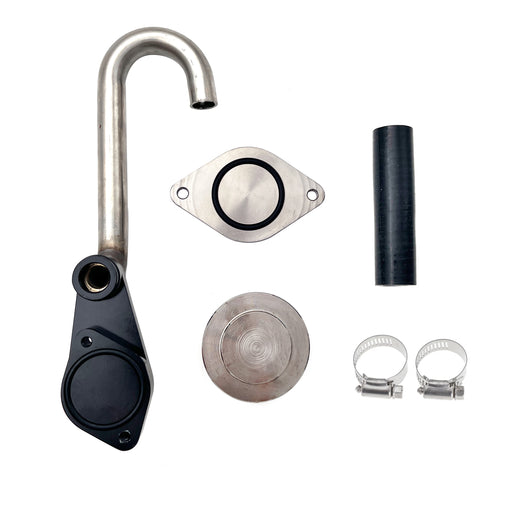
Seguler 2003-2007 6.0L FORD Powerstroke Diesel EGR Cooler Delete Kit
SEGULEROriginal price $56.14 - Original price $56.14Original price$56.14$56.14 - $56.14Current price $56.14FITMENT 2003-2007 6.0L Ford F-250 Ford F-350 F-450 F-550 Super Duty. 2003-2007 6.0L Ford Excursion SUV (Diesel Models Only). 2005-2010 Ford E-Se...
View full details -
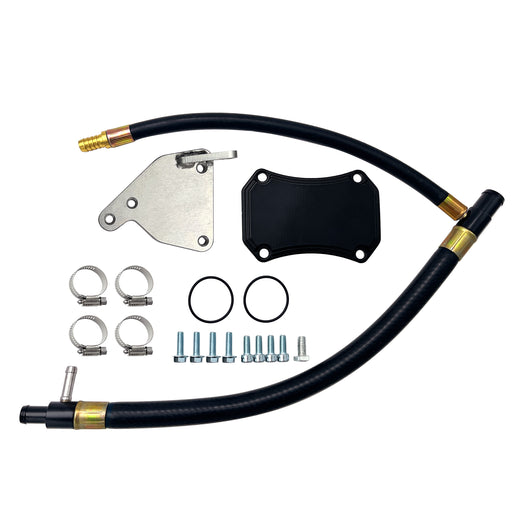
For 2011-2016 6.6L GMC Chevy Duramax Diesel LML EGR Valve Cooler Delete Kit
SEGULEROriginal price $66.49 - Original price $66.49Original price$66.49$66.49 - $66.49Current price $66.49FITMENT 2011-2016 6.6L Chevy GMC Duramax LML 2500 HD 3500 HD Diesel. DESCRIPTION Product Overview The 2011–2016 LML Duramax uses a complex EG...
View full details -
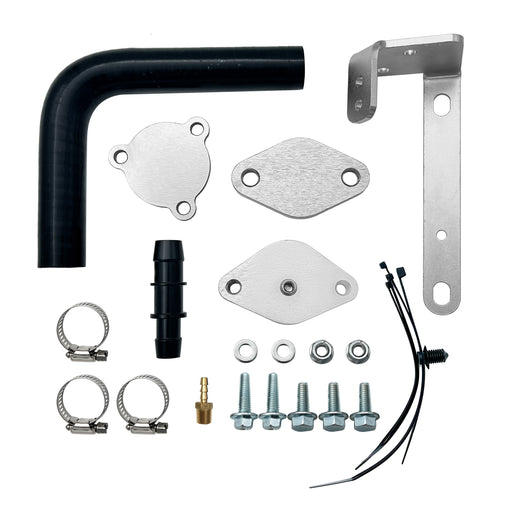
Seguler For 2014-2019 3.0L Dodge Ram 1500 EcoDiesel EGR Valve & Cooler Delete Kit
SEGULEROriginal price $72.99 - Original price $72.99Original price$72.99$72.99 - $72.99Current price $72.99FITMENT 2014-2019 3.0L Dodge Ram 1500 EcoDiesel V6 engine trucks. DESCRIPTION Product Overview Exhaust gas recirculation on 3.0L EcoDiesel V6 ...
View full details -

Seguler 2011-2023 6.7L Ford Powerstroke Diesel EGR Delete Kit
SEGULEROriginal price $85.99 - Original price $85.99Original price$85.99$85.99 - $85.99Current price $85.99FITMENT 2011-2023 6.7L Ford Powerstroke F-250 F-350 F-450 F-550 Super Duty V8 Diesel. compatible with both standard Pickups and commercial Cab &...
View full details -

Seguler 2010-2024 6.7L Dodge Ram Cummins Diesel EGR Valve Cooler Delete Kit
SEGULEROriginal price $89.99 - Original price $89.99Original price$89.99$89.99 - $89.99Current price $89.99FITMENT 2010–2024 6.7L Dodge Ram Cummins 2500 / 3500 Pickup Turbo Diesel. Note: Does NOT fit Chassis Cab 3500 / 4500 / 5500 models. DESCRIPTIO...
View full details -
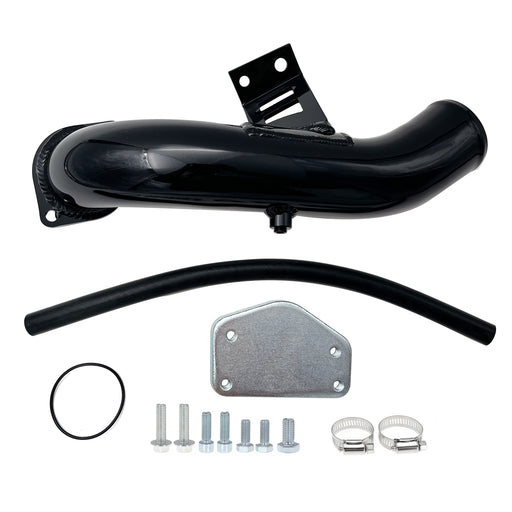
For 2004.5-2005 6.6L Chevy GMC Silverado LLY Duramax Diesel EGR Delete Kit
SEGULEROriginal price $92.99 - Original price $92.99Original price$92.99$92.99 - $92.99Current price $92.99FITMENT 2004.5-2005 6.6L Chevrolet Silverado Duramax LLY 2500HD / 3500 HD. 2004.5-2005 6.6L GMC Sierra Duramax LLY 2500HD / 3500 HD. DESCRIPTION...
View full details -

Seguler 2017-2019 L5P Duramax Diesel 4pcs L5P Can Bus Plugs Connector Replacement
SEGULEROriginal price $75.00 - Original price $75.00Original price$75.00$75.00 - $75.00Current price $75.00FITMENT 2017–2019 Chevrolet Silverado / GMC Sierra Duramax L5P 2500HD & 3500HD Diesel. DESCRIPTION Product Overview Unprotected harness con...
View full details -

Seguler 2020-2023 chevy duramax L5P Diesel Can Bus Plugs Connector
SEGULEROriginal price $80.00 - Original price $80.00Original price$80.00$80.00 - $80.00Current price $80.00FITMENT 2020–2023 Chevrolet Silverado / GMC Sierra Duramax L5P 2500HD & 3500HD Diesel. DESCRIPTION Product Overview Unprotected harness pl...
View full details -
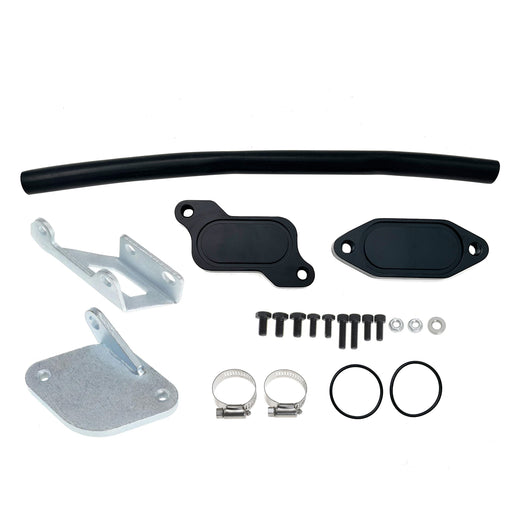
For 2006-2007 6.6L Chevrolet Silverado Classic GMC Duramax LBZ Diesel EGR Valve Cooler Delete Kit
SEGULEROriginal price $63.49 - Original price $63.49Original price$63.49$63.49 - $63.49Current price $63.49FITMENT 2006-2007.4 Chevrolet Silverado Duramax LBZ 2500HD / 3500HD. 2007.4 Chevrolet Silverado Duramax LBZ 2500HD / 3500HD Classic. 2006-2007.4 ...
View full details -

Seguler 2011-2023 6.7L Ford F250 F350 F450 F550 Powerstroke Diesel EGR Valve Delete Cooler Delete Kit
SEGULEROriginal price $55.99 - Original price $55.99Original price$55.99$55.99 - $55.99Current price $55.99FITMENT 2011-2023 6.7L Ford Powerstroke F-250 F-350 F-450 F-550 Super Duty V8 Diesel compatible with both standard Pickups and commercial Cab &a...
View full details -
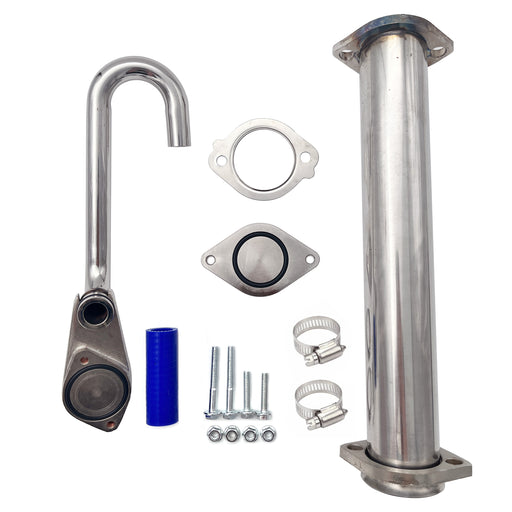
Seguler 2003-2007 6.0L Ford F250 F350 Powerstroke Diesel EGR Basic Cooler Kit
SEGULEROriginal price $79.99 - Original price $79.99Original price$79.99$79.99 - $79.99Current price $79.99FITMENT 2003-2007 6.0L Ford F250 F350 F450 F550 Super Duty Turbo (except 2004 F250 Super Duty). 2003-2005 6.0L Ford Excursion Turbo. 2005 Ford F...
View full details -
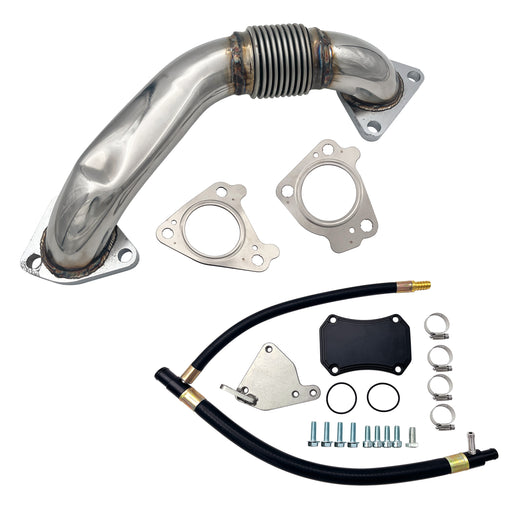
Seguler 2011-2016 6.6L GMC Chevy Duramax Diesel LML Up-Pipe & EGR Valve Cooler Delete Kit
SEGULEROriginal price $173.86 - Original price $173.86Original price$173.86$173.86 - $173.86Current price $173.86FITMENT 2011-2016 6.6L Chevy GMC Duramax LML 2500 HD 3500 HD Diesel. DESCRIPTION Product Overview Direct-injection technology endows GM 5.3L an...
View full details -
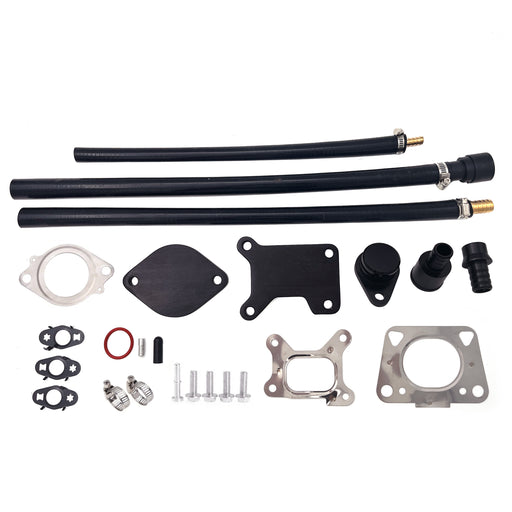
For 2017-2023 6.6L Chevy GMC Duramax L5P diesel EGR Valve Cooler Delete kit
SEGULEROriginal price $131.99 - Original price $131.99Original price$131.99$131.99 - $131.99Current price $131.99FITMENT 2017–2023 6.6L Chevrolet Silverado / GMC Sierra Duramax L5P 2500HD 3500HD Diesel. DESCRIPTION Product Overview Hot soot recirculation ...
View full details -
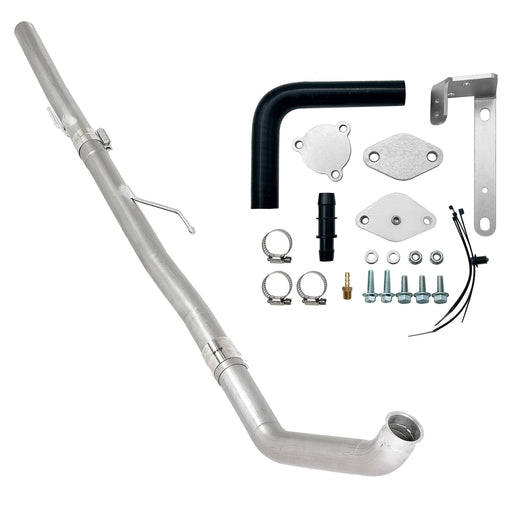
Seguler 3" Ecodiesel DPF Delete Pipe & EGR Delete kit for 2014-2018 3.0L Ram
SEGULEROriginal price $342.00 - Original price $342.00Original price$342.00$342.00 - $342.00Current price $342.00FITMENT 2014–2018 3.0L Dodge Ram 1500 EcoDiesel V6. NOTE: Fit standard Pickup models only (Crew Cab, Quad Cab). Does NOT fit Jeep Grand Cheroke...
View full details -
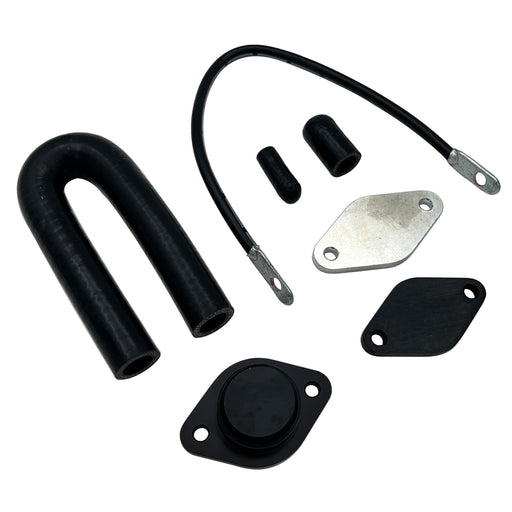
Seguler EGR valve cooler Delete kit for 2020-2022 3.0L Chevy Duramax LM2
SEGULEROriginal price $189.12 - Original price $189.12Original price$189.12$189.12 - $189.12Current price $189.12FITMENT 2020–2022 3.0L Chevrolet Silverado GMC Sierra 1500 LM2 Turbo-Diesel. DESCRIPTION Product Overview Powered by smooth inline-six engine...
View full details -

For 2013-2023 6.7L Dodge Ram Cummins Cab & Chassis EGR Delete Kit Diesel
SEGULEROriginal price $62.99 - Original price $62.99Original price$62.99$62.99 - $62.99Current price $62.99FITMENT 2013–2023 6.7L Ram Cummins 3500 4500 5500 Cab & Chassis / Commercial Trucks. Does NOT fit standard Ram 2500 3500 Pickups. DESCRIPTIO...
View full details -
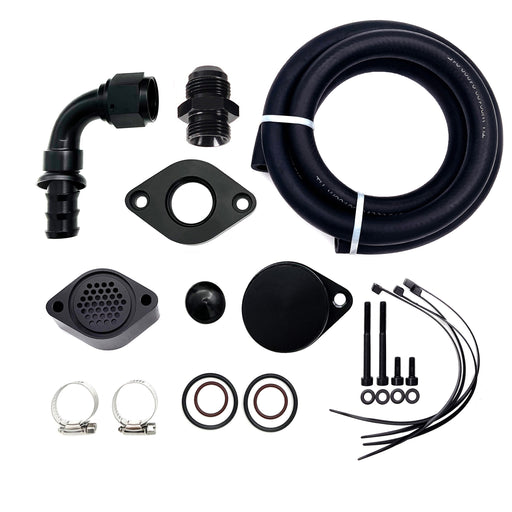
Seguler 2011-2023 6.7L Ford Powerstroke CCV PCV Reroute Engine Ventilation Kit
SEGULEROriginal price $82.99 - Original price $82.99Original price$82.99$82.99 - $82.99Current price $82.99FITMENT 2011-2023 6.7L Ford Powerstroke F-250 F-350 F-450 F-550 Super Duty V8 Diesel. Compatible with both standard Pickups and commercial Cab &...
View full details -
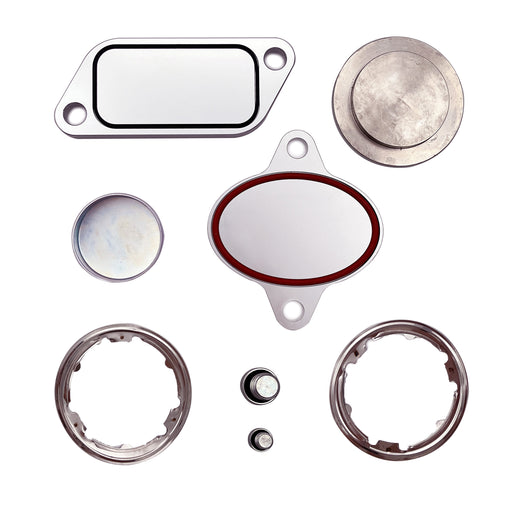
For 2007-2010 Cummins ISX CM871 EGR Plug Kit Stage 2 Plates and Plugs Aluminum
SEGULEROriginal price $67.99 - Original price $67.99Original price$67.99$67.99 - $67.99Current price $67.99FITMENT 2007-2010 Cummins Volvo, Peterbilt, Mack, International, Freightliner, Kenworth with the ISX CM871 Engines. DESCRIPTION Product Overvie...
View full details -
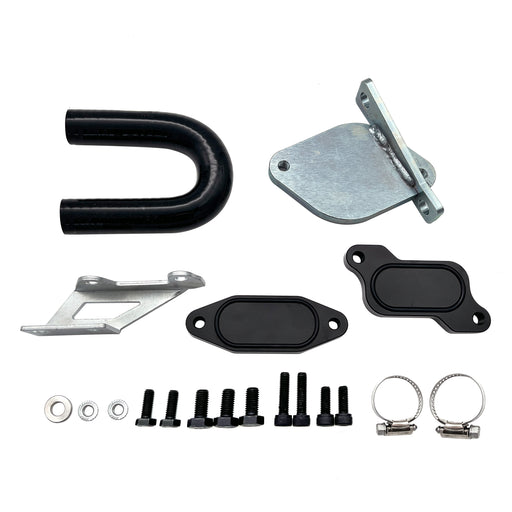
For 2007-2010 6.6L Chevy GMC LMM Duramax EGR Valve Cooler Delete Kit Fit
SEGULEROriginal price $61.99 - Original price $61.99Original price$61.99$61.99 - $61.99Current price $61.99FITMENT 2007.5-2010 6.6L Chevrolet Silverado Duramax LMM 2500HD / 3500HD. 2007.5-2010 6.6L GMC Sierra Duramax LMM 2500HD / 3500HD. Note: Standard...
View full details -
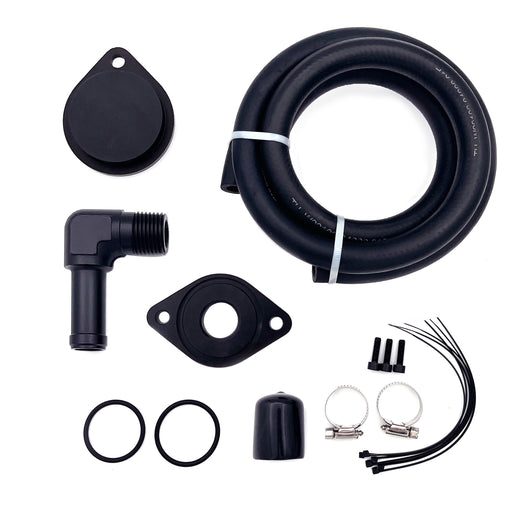
Seguler 2011-2023 Ford 6.7L Powerstroke CCV/PCV Reroute/Delete Engine Ventilation Kit
SEGULEROriginal price $72.00 - Original price $72.00Original price$72.00$72.00 - $72.00Current price $72.00FITMENT 2011-2023 6.7L Ford Powerstroke F-250 F-350 F-450 F-550 Super Duty V8 Diesel. Compatible with both standard Pickups and commercial Cab &...
View full details -
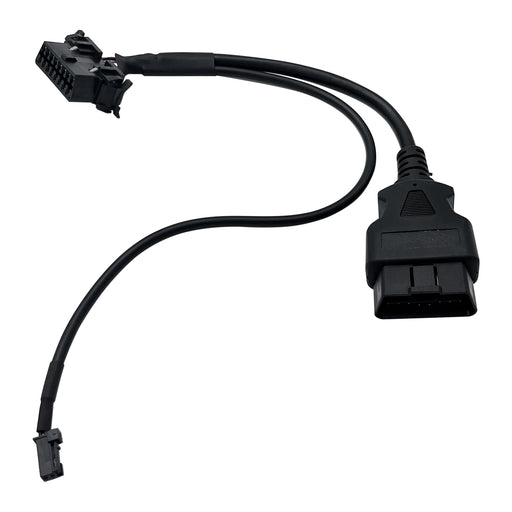
Seguler 2018+ RAM Cummins OBD2 HD Security Gate Bypass Cable
SEGULEROriginal price $45.00 - Original price $45.00Original price$45.00$45.00 - $45.00Current price $45.00FITMENT 2018+ 6.7L Ram Cummins 2500 3500 Turbo Diesel. Designed for Ram pickup trucks equipped with the factory Security Gateway Module. Note: Pl...
View full details -
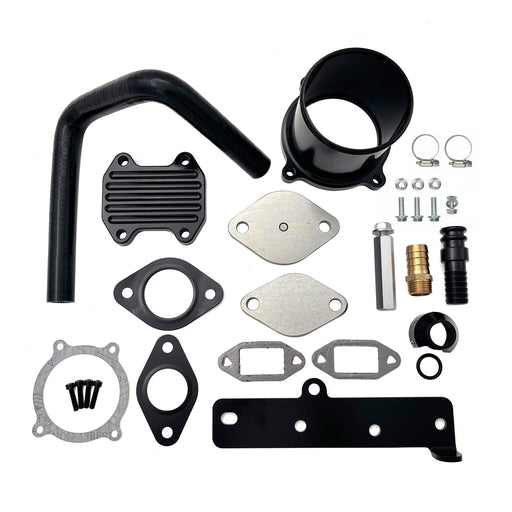
Seguler For 2013-2018 6.7L Dodge RAM 2500 3500 Cummins Diesel EGR Delete Cooler Throttle Valve Delete Kit
SEGULEROriginal price $112.00 - Original price $112.00Original price$112.00$112.00 - $112.00Current price $112.00FITMENT 2013–2018 6.7L Dodge Ram Cummins 2500 & 3500 Pickup Turbo Diesel. Note: Does NOT fit Cab & Chassis (3500 / 4500 / 5500 C&C) m...
View full details


Leave a comment