

How to Install an L5P Duramax Delete Kit
What Is an L5P Delete Kit?
The 2017-2023 Duramax L5P is one of the most advanced diesel engines ever put into a pickup truck, producing 445 horsepower and 910 lb-ft of torque in stock form. However, the emissions systems required to make this engine EPA-compliant — the Diesel Particulate Filter (DPF), Exhaust Gas Recirculation (EGR), Selective Catalytic Reduction (SCR) using Diesel Exhaust Fluid (DEF), and Crankcase Ventilation (CCV) system — represent engineering compromises that affect performance, fuel efficiency, and long-term maintenance costs.
Key Takeaways
- The L5P (2017-2023) has four emissions systems that can be deleted: DPF, EGR, SCR/DEF, and CCV — each requiring specific components
- EGR delete on the L5P involves removing the EGR cooler, valve, and rerouting coolant lines — plan 3-4 hours for this portion
- DPF delete pipe installation requires removing the factory filter assembly from the downpipe back — the most labor-intensive step at 4-6 hours
- CAN bus plugs are essential for L5P deletes to prevent electrical faults from disconnected emissions sensors
- A delete-specific tuner must be installed before or simultaneously with the physical delete to prevent engine codes and limp mode
An L5P delete kit is a hardware package that removes these emissions components and replaces them with high-flow alternatives. When combined with professional ECM tuning, the result is a more powerful, more efficient, and fundamentally simpler powertrain. This guide covers the installation process, required tools, and critical considerations for completing an L5P delete correctly.
Components of a Complete L5P Delete Kit
A comprehensive L5P delete kit should include all of the following:
- DPF Delete Pipe: Replaces the DPF and SCR catalyst assembly with a straight-through pipe. Available in 4-inch or 5-inch diameter. Constructed from T-409 or T-304 stainless steel.
- EGR Delete Components: Block-off plates and replacement pipes to seal the EGR ports at the exhaust manifold and intake manifold. Includes coolant system reroute fittings.
- CCV Reroute Kit: Redirects crankcase ventilation gases away from the intake system, preventing oil vapor from coating the intercooler and intake manifold.
- CAN Bus Plugs (model dependent): On 2020+ L5P trucks, CAN bus plug modules may be required to maintain proper communication between the ECM and other vehicle systems after deletion.
Required Tools and Preparation
Before beginning installation, gather these tools:
- Complete socket set: 8mm through 18mm, including deep sockets
- 3/8-inch and 1/2-inch ratchets with extensions (6-inch, 12-inch, 18-inch)
- Torque wrench (10-150 ft-lb range)
- Penetrating oil (PB Blaster or equivalent — exhaust bolts are frequently seized)
- Flathead and Phillips screwdrivers
- Needle-nose pliers and hose clamp pliers
- Pry bar set
- Coolant catch pan (minimum 3-gallon capacity)
- Safety glasses, mechanic gloves, and a creeper or cardboard to work under the truck
- Jack stands (rated for the vehicle weight) and a floor jack — a lift is strongly preferred
Step-by-Step Installation Process
Step 1: Preparation and Safety
Park the truck on a level surface. Disconnect both battery negative terminals. Allow the exhaust system to cool completely — exhaust components retain dangerous heat for hours after operation. Raise the vehicle on a lift or secure it on quality jack stands. Never work under a vehicle supported only by a floor jack.
Step 2: Drain Coolant
The EGR cooler on the L5P is liquid-cooled. Locate the radiator drain petcock, place a catch pan underneath, and drain approximately 2 gallons of coolant. Retain the coolant in a clean container if you plan to reuse it. Alternatively, this is an excellent opportunity to replace the coolant entirely.
Step 3: Remove the Factory Exhaust and DPF Assembly
Disconnect all exhaust sensor harnesses (EGT sensors, NOx sensors, pressure sensor lines) and label each connector for reference. Apply penetrating oil to all exhaust flange bolts and allow 5-10 minutes to work. Unbolt the flanges securing the DPF assembly to the downpipe and the tailpipe section. Remove the DPF unit — it weighs approximately 60-80 pounds, so having a helper or a transmission jack is recommended. Remove the DEF injector and cap the DEF supply line to prevent contamination.
Step 4: Remove the EGR System
Remove the intake plumbing to access the EGR valve and cooler. Disconnect the coolant lines from the EGR cooler. Unbolt the EGR valve from the intake manifold. Remove the EGR cooler mounting bolts and carefully extract the cooler assembly. Clean the mounting surfaces thoroughly with a plastic scraper and brake cleaner — do not use metal scrapers on aluminum sealing surfaces.
Step 5: Install the Delete Components
Install the EGR block-off plates at the intake manifold and exhaust manifold using the supplied gaskets and hardware. Torque bolts to the specifications provided in the kit instructions — typically 18-25 ft-lbs for M8 fasteners into aluminum. Reroute the coolant lines according to the kit diagram, ensuring proper flow direction. Install the CCV reroute module according to the kit instructions, routing the outlet hose to atmosphere or a catch can as specified. Install the DPF delete pipe, starting at the downpipe flange and working rearward. Hand-tighten all V-band clamps and flange bolts initially, then tighten progressively from front to rear. The 4-bolt turbo flange on the L5P requires specific torque — refer to kit specifications.
Step 6: CAN Bus Integration (2020+ Models)
On 2020 and newer L5P trucks, the CAN bus communication system requires specific plug modules to prevent instrument cluster issues after deletion. Install these modules at the specified connection points per the kit instructions. Do not skip this step — missing CAN bus integration can cause fuel gauge inaccuracy, transmission shifting issues, or ABS warning lights.
Step 7: Refill and Verify
Refill the cooling system with the proper coolant mixture. Bleed the system according to the service manual procedure. Reconnect the battery. Before starting the engine, double-check all connections: block-off plates, exhaust flanges, V-band clamps, sensor connectors, and coolant line routing. Start the engine and let it idle while checking for exhaust leaks (listen and feel around all connections) and coolant leaks.
Step 8: ECM Tuning
The truck will not run correctly without tuning after hardware installation. Load the delete tune onto the ECM using your tuning device. Follow the tuner manufacturer's process exactly — interruption during ECM flashing can brick the computer. After tuning, start the engine and verify: no check engine light, normal idle, proper boost response, and all gauges functioning correctly. Take a short test drive monitoring EGTs, boost, and coolant temperature before any extended driving.
Important Legal and Practical Considerations
Deleting the emissions systems on any vehicle operated on public roads violates federal law. This modification is legal only for dedicated off-road vehicles, closed-course competition vehicles, and export applications. Beyond legal considerations, note that deletion: voids the factory powertrain warranty, may prevent vehicle registration in emissions-testing states, affects resale value and trade-in acceptance, and creates a permanent dependency on the aftermarket tune.
FAQs About L5P Delete Installation
Q1: How long does a complete L5P delete installation take?
A1: A professional shop with a lift and all tools on hand can complete the installation in 6-8 hours. An experienced DIY mechanic working on jack stands should budget 12-16 hours over a full weekend. Access to a lift reduces the exhaust system removal time significantly.
Q2: Can I install the delete hardware without tuning immediately?
A2: No. The truck will not run correctly — the ECM will detect missing sensors, abnormal pressures, and missing DEF system communication. It will illuminate the check engine light and likely enter reduced-power limp mode. Tuning must be completed at the same time as hardware installation.
Q3: What exhaust diameter is recommended for the L5P?
A3: For street-driven trucks under 550 RWHP, a 4-inch system provides an excellent balance of flow and exhaust velocity, maintaining strong low-end torque. For trucks pursuing maximum power (550+ RWHP), frequent heavy towing, or a more aggressive exhaust note, a 5-inch system offers unrestricted flow. Both sizes are available in our L5P delete kits.
Q4: Do I need the CCV reroute as part of the delete?
A4: It is strongly recommended. With the EGR system removed, the intake no longer receives carbon-laden exhaust gas — but the factory CCV system still routes oil vapor into the intake. Without the soot from EGR to absorb it, this oil vapor condenses in the intercooler and intake manifold. A CCV reroute keeps the intake completely clean, maximizing the benefits of the EGR delete.
Q5: What ongoing maintenance does a deleted L5P require?
A5: A deleted L5P requires standard diesel maintenance: oil changes every 5,000-7,500 miles (more frequently if tuned for high power), fuel filter changes every 10,000-15,000 miles, air filter inspection at every oil change, and coolant system maintenance per the factory schedule. The EGT sensors should be monitored — sustained temperatures above 1,250°F indicate a need to reduce throttle or check the tune.
Conclusion
Installing an L5P delete kit is a substantial mechanical project that transforms how the engine operates. When executed correctly — with quality components, proper tools, professional ECM tuning, and full awareness of the legal implications — it unlocks the engine's full potential while eliminating the most common failure points in the factory configuration. Visit www.seguler.com to explore our complete L5P delete solutions, including 4-inch and 5-inch exhaust systems, EGR delete kits, and CAN bus integration components.
Frequently Asked Questions
How long does it take to install an L5P delete kit?
A full L5P delete kit installation typically takes 8-12 hours for an experienced mechanic or a full weekend for a DIYer with moderate mechanical skills. The EGR portion takes 3-4 hours and the DPF/exhaust portion takes 4-6 hours.
Do I need CAN bus plugs for L5P delete?
Yes, CAN bus plugs are required for the L5P delete. They plug into the disconnected emissions sensor connectors to prevent fault codes and electrical issues. Most quality delete kits include them.
Can I install an L5P delete kit myself?
Yes, with moderate mechanical skills, basic hand tools, and a vehicle lift or jack stands. The most challenging parts are accessing the EGR cooler (tight engine bay space) and maneuvering the DPF assembly out from under the truck.
What tuner works with L5P delete?
Popular L5P delete tuners include EFI Live with AutoCal, EZ Lynk, and MM3. Each offers multiple power levels from stock-plus to race tunes. Ensure the tuner supports your specific model year and emissions delete strategy.
Do I need to delete EGR and DPF at the same time?
While they can be done separately, most L5P owners delete both simultaneously since the tuner must be reprogrammed either way. Doing both at once saves labor time and ensures all systems work together.


Featured collection
-
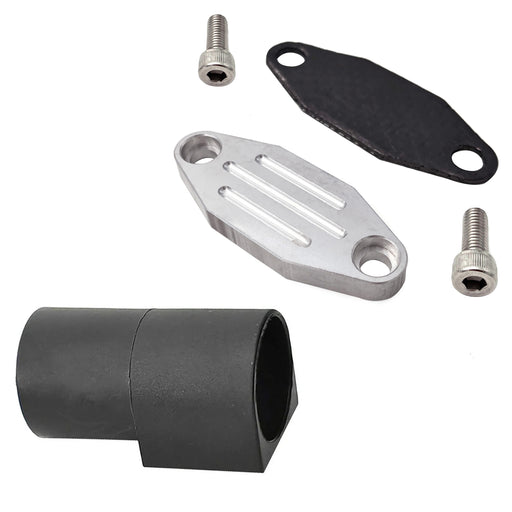
Seguler 1986-1995 Ford F150 F250 F350 Mustang Trucks EGR Simulator Eliminator / Block Off Plate Kit
SEGULEROriginal price $79.99 - Original price $79.99Original price$79.99$79.99 - $79.99Current price $79.99Block Off Plate Material: Aluminum alloy. Easy installation,and convenient to use. Made of CNC milled from aircraft grade Billet aluminum. Will N...
View full details -

Seguler 2011-2023 6.7L Ford Powerstroke Diesel EGR Delete Kit
SEGULEROriginal price $109.99 - Original price $109.99Original price$109.99$109.99 - $109.99Current price $109.99FITMENT 2011-2023 6.7L Ford Powerstroke F-250 F-350 F-450 F-550 Super Duty V8 Diesel. compatible with both standard Pickups and commercial Cab &...
View full details -
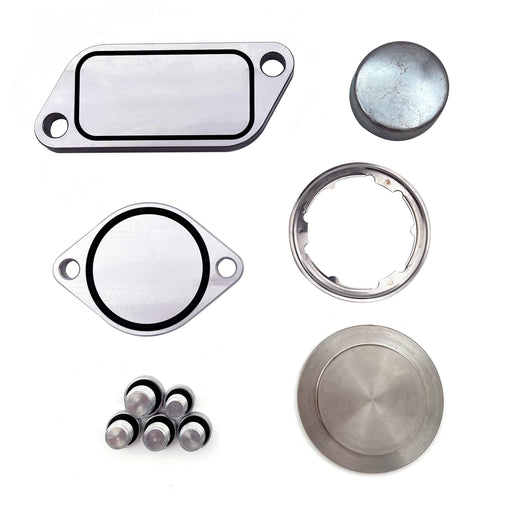
For 2010-Present Stage 2 ISX 15 CM2250 CM2350 EGR Delete Kit
SEGULEROriginal price $59.99 - Original price $59.99Original price$59.99$59.99 - $59.99Current price $59.99FITMENT 2010-Present Cummins Volvo, Peterbilt, Mack, International, Freightliner, Kenworth with the ISX15 CM2250 / CM2350 engines. DESCRIPTION P...
View full details -
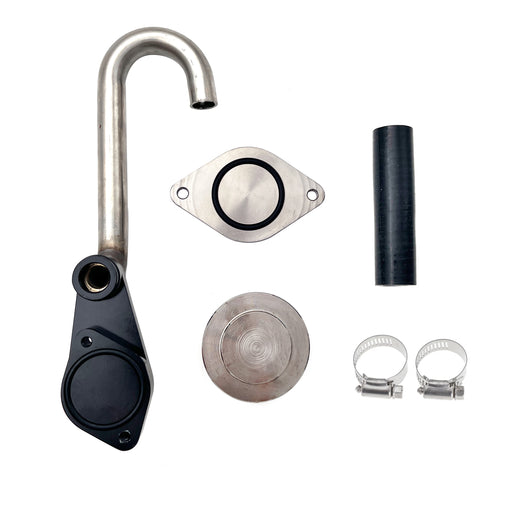
Seguler 2003-2007 6.0L FORD Powerstroke Diesel EGR Cooler Delete Kit
SEGULEROriginal price $56.14 - Original price $56.14Original price$56.14$56.14 - $56.14Current price $56.14FITMENT 2003-2007 6.0L Ford F-250 Ford F-350 F-450 F-550 Super Duty. 2003-2007 6.0L Ford Excursion SUV (Diesel Models Only). 2005-2010 Ford E-Se...
View full details -
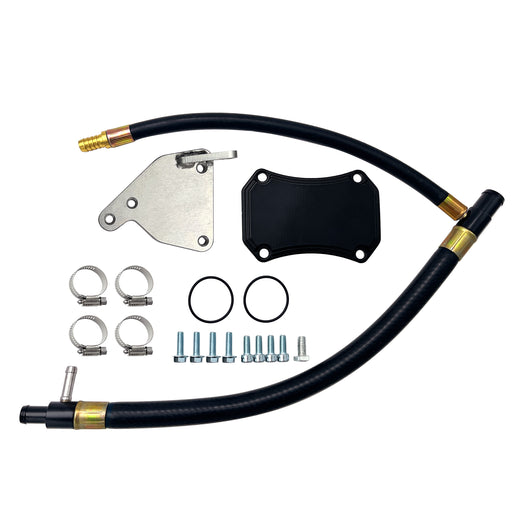
For 2011-2016 6.6L GMC Chevy Duramax Diesel LML EGR Valve Cooler Delete Kit
SEGULEROriginal price $66.49 - Original price $66.49Original price$66.49$66.49 - $66.49Current price $66.49FITMENT 2011-2016 6.6L Chevy GMC Duramax LML 2500 HD 3500 HD Diesel. DESCRIPTION Product Overview The 2011–2016 LML Duramax uses a complex EG...
View full details -
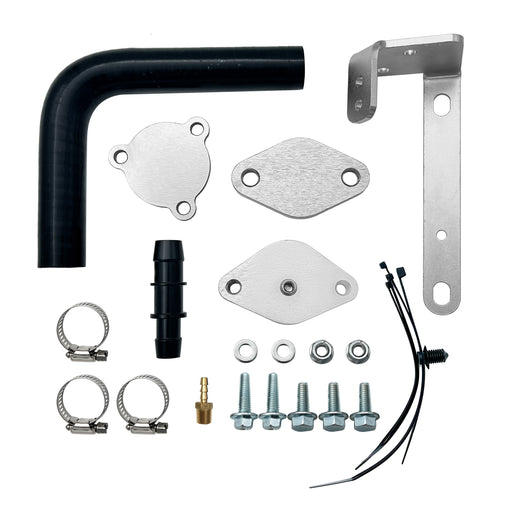
Seguler For 2014-2019 3.0L Dodge Ram 1500 EcoDiesel EGR Valve & Cooler Delete Kit
SEGULEROriginal price $72.99 - Original price $72.99Original price$72.99$72.99 - $72.99Current price $72.99FITMENT 2014-2019 3.0L Dodge Ram 1500 EcoDiesel V6 engine trucks. DESCRIPTION Product Overview Exhaust gas recirculation on 3.0L EcoDiesel V6 ...
View full details -

Seguler 2011-2023 6.7L Ford Powerstroke Diesel EGR Delete Kit
SEGULEROriginal price $85.99 - Original price $85.99Original price$85.99$85.99 - $85.99Current price $85.99FITMENT 2011-2023 6.7L Ford Powerstroke F-250 F-350 F-450 F-550 Super Duty V8 Diesel. compatible with both standard Pickups and commercial Cab &...
View full details -

Seguler 2010-2024 6.7L Dodge Ram Cummins Diesel EGR Valve Cooler Delete Kit
SEGULEROriginal price $89.99 - Original price $89.99Original price$89.99$89.99 - $89.99Current price $89.99FITMENT 2010–2024 6.7L Dodge Ram Cummins 2500 / 3500 Pickup Turbo Diesel. Note: Does NOT fit Chassis Cab 3500 / 4500 / 5500 models. DESCRIPTIO...
View full details -
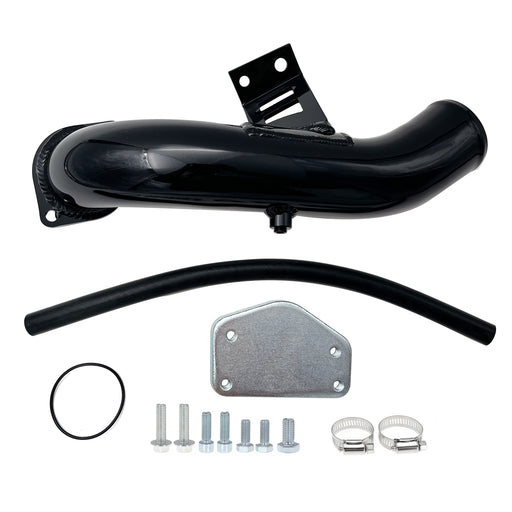
For 2004.5-2005 6.6L Chevy GMC Silverado LLY Duramax Diesel EGR Delete Kit
SEGULEROriginal price $92.99 - Original price $92.99Original price$92.99$92.99 - $92.99Current price $92.99FITMENT 2004.5-2005 6.6L Chevrolet Silverado Duramax LLY 2500HD / 3500 HD. 2004.5-2005 6.6L GMC Sierra Duramax LLY 2500HD / 3500 HD. DESCRIPTION...
View full details -

Seguler 2017-2019 L5P Duramax Diesel 4pcs L5P Can Bus Plugs Connector Replacement
SEGULEROriginal price $75.00 - Original price $75.00Original price$75.00$75.00 - $75.00Current price $75.00FITMENT 2017–2019 Chevrolet Silverado / GMC Sierra Duramax L5P 2500HD & 3500HD Diesel. DESCRIPTION Product Overview Unprotected harness con...
View full details -

Seguler 2020-2023 chevy duramax L5P Diesel Can Bus Plugs Connector
SEGULEROriginal price $80.00 - Original price $80.00Original price$80.00$80.00 - $80.00Current price $80.00FITMENT 2020–2023 Chevrolet Silverado / GMC Sierra Duramax L5P 2500HD & 3500HD Diesel. DESCRIPTION Product Overview Unprotected harness pl...
View full details -
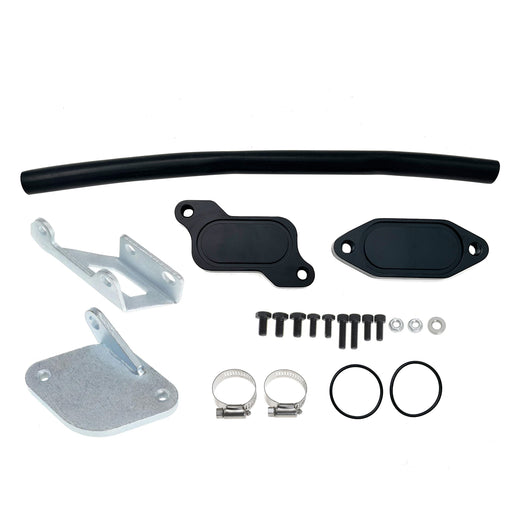
For 2006-2007 6.6L Chevrolet Silverado Classic GMC Duramax LBZ Diesel EGR Valve Cooler Delete Kit
SEGULEROriginal price $63.49 - Original price $63.49Original price$63.49$63.49 - $63.49Current price $63.49FITMENT 2006-2007.4 Chevrolet Silverado Duramax LBZ 2500HD / 3500HD. 2007.4 Chevrolet Silverado Duramax LBZ 2500HD / 3500HD Classic. 2006-2007.4 ...
View full details -

Seguler 2011-2023 6.7L Ford F250 F350 F450 F550 Powerstroke Diesel EGR Valve Delete Cooler Delete Kit
SEGULEROriginal price $55.99 - Original price $55.99Original price$55.99$55.99 - $55.99Current price $55.99FITMENT 2011-2023 6.7L Ford Powerstroke F-250 F-350 F-450 F-550 Super Duty V8 Diesel compatible with both standard Pickups and commercial Cab &a...
View full details -
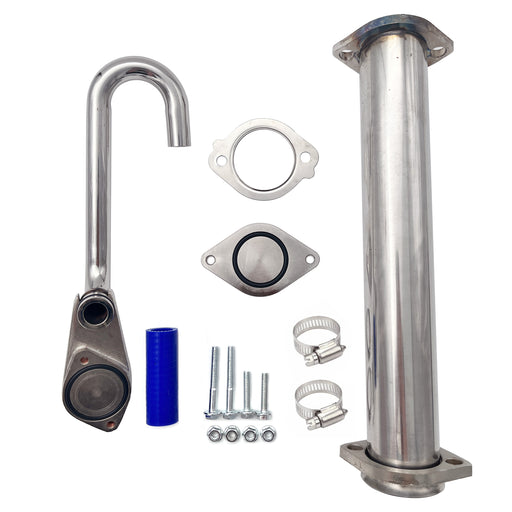
Seguler 2003-2007 6.0L Ford F250 F350 Powerstroke Diesel EGR Basic Cooler Kit
SEGULEROriginal price $79.99 - Original price $79.99Original price$79.99$79.99 - $79.99Current price $79.99FITMENT 2003-2007 6.0L Ford F250 F350 F450 F550 Super Duty Turbo (except 2004 F250 Super Duty). 2003-2005 6.0L Ford Excursion Turbo. 2005 Ford F...
View full details -
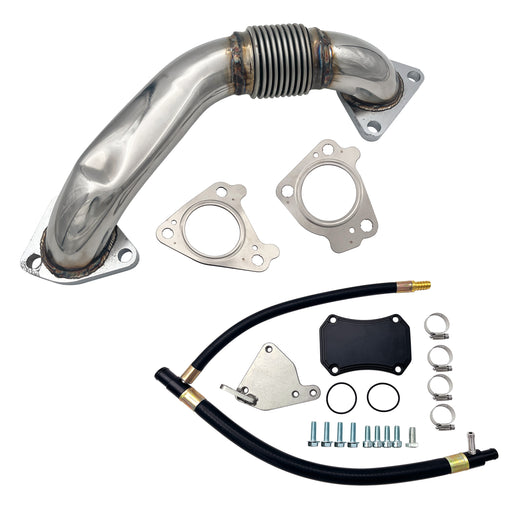
Seguler 2011-2016 6.6L GMC Chevy Duramax Diesel LML Up-Pipe & EGR Valve Cooler Delete Kit
SEGULEROriginal price $173.86 - Original price $173.86Original price$173.86$173.86 - $173.86Current price $173.86FITMENT 2011-2016 6.6L Chevy GMC Duramax LML 2500 HD 3500 HD Diesel. DESCRIPTION Product Overview Direct-injection technology endows GM 5.3L an...
View full details -
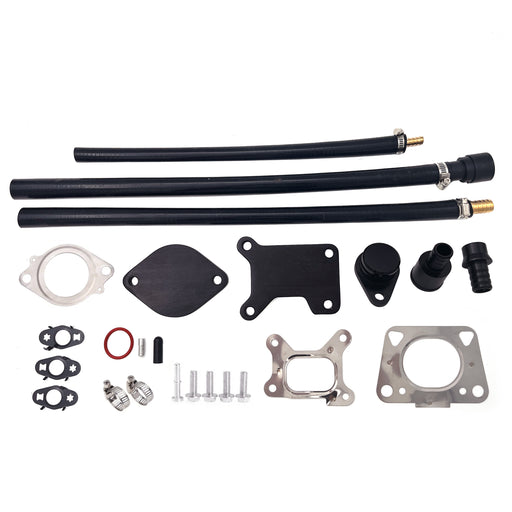
For 2017-2023 6.6L Chevy GMC Duramax L5P diesel EGR Valve Cooler Delete kit
SEGULEROriginal price $131.99 - Original price $131.99Original price$131.99$131.99 - $131.99Current price $131.99FITMENT 2017–2023 6.6L Chevrolet Silverado / GMC Sierra Duramax L5P 2500HD 3500HD Diesel. DESCRIPTION Product Overview Hot soot recirculation ...
View full details -
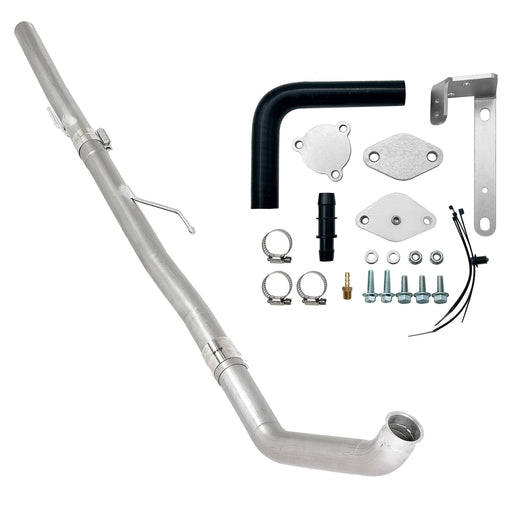
Seguler 3" Ecodiesel DPF Delete Pipe & EGR Delete kit for 2014-2018 3.0L Ram
SEGULEROriginal price $342.00 - Original price $342.00Original price$342.00$342.00 - $342.00Current price $342.00FITMENT 2014–2018 3.0L Dodge Ram 1500 EcoDiesel V6. NOTE: Fit standard Pickup models only (Crew Cab, Quad Cab). Does NOT fit Jeep Grand Cheroke...
View full details -
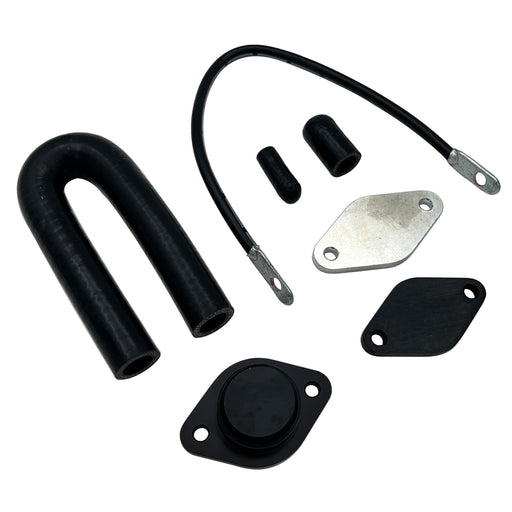
Seguler EGR valve cooler Delete kit for 2020-2022 3.0L Chevy Duramax LM2
SEGULEROriginal price $189.12 - Original price $189.12Original price$189.12$189.12 - $189.12Current price $189.12FITMENT 2020–2022 3.0L Chevrolet Silverado GMC Sierra 1500 LM2 Turbo-Diesel. DESCRIPTION Product Overview Powered by smooth inline-six engine...
View full details -

For 2013-2023 6.7L Dodge Ram Cummins Cab & Chassis EGR Delete Kit Diesel
SEGULEROriginal price $62.99 - Original price $62.99Original price$62.99$62.99 - $62.99Current price $62.99FITMENT 2013–2023 6.7L Ram Cummins 3500 4500 5500 Cab & Chassis / Commercial Trucks. Does NOT fit standard Ram 2500 3500 Pickups. DESCRIPTIO...
View full details -
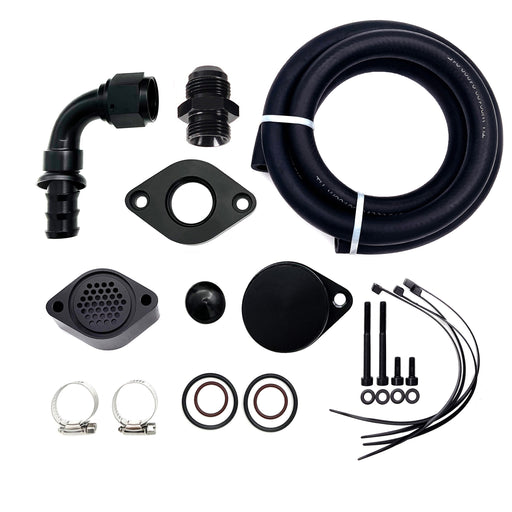
Seguler 2011-2023 6.7L Ford Powerstroke CCV PCV Reroute Engine Ventilation Kit
SEGULEROriginal price $82.99 - Original price $82.99Original price$82.99$82.99 - $82.99Current price $82.99FITMENT 2011-2023 6.7L Ford Powerstroke F-250 F-350 F-450 F-550 Super Duty V8 Diesel. Compatible with both standard Pickups and commercial Cab &...
View full details -
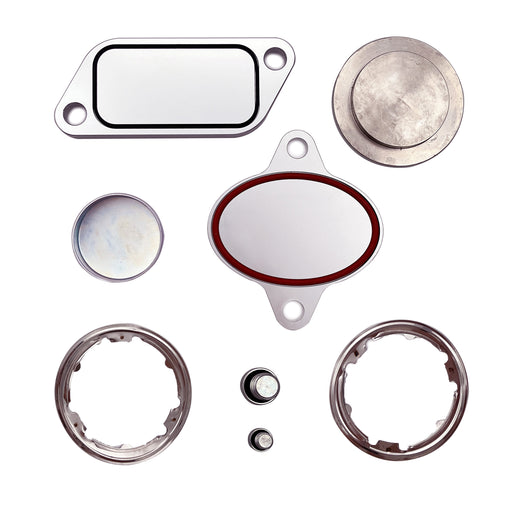
For 2007-2010 Cummins ISX CM871 EGR Plug Kit Stage 2 Plates and Plugs Aluminum
SEGULEROriginal price $67.99 - Original price $67.99Original price$67.99$67.99 - $67.99Current price $67.99FITMENT 2007-2010 Cummins Volvo, Peterbilt, Mack, International, Freightliner, Kenworth with the ISX CM871 Engines. DESCRIPTION Product Overvie...
View full details -
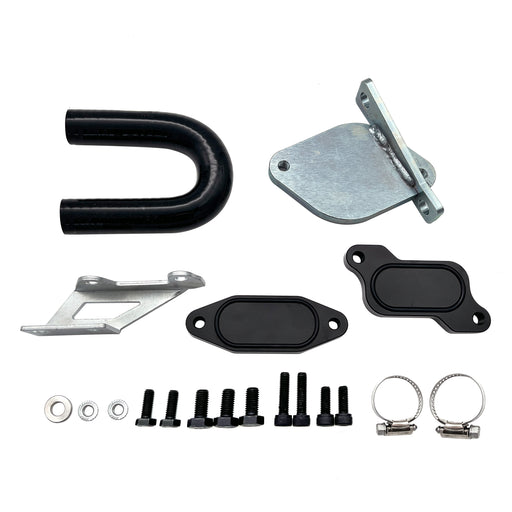
For 2007-2010 6.6L Chevy GMC LMM Duramax EGR Valve Cooler Delete Kit Fit
SEGULEROriginal price $61.99 - Original price $61.99Original price$61.99$61.99 - $61.99Current price $61.99FITMENT 2007.5-2010 6.6L Chevrolet Silverado Duramax LMM 2500HD / 3500HD. 2007.5-2010 6.6L GMC Sierra Duramax LMM 2500HD / 3500HD. Note: Standard...
View full details -
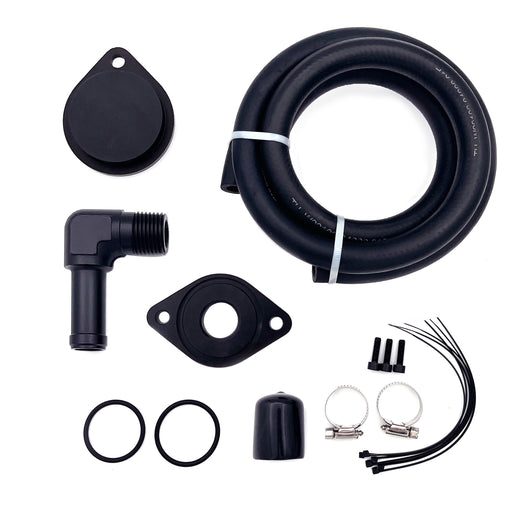
Seguler 2011-2023 Ford 6.7L Powerstroke CCV/PCV Reroute/Delete Engine Ventilation Kit
SEGULEROriginal price $72.00 - Original price $72.00Original price$72.00$72.00 - $72.00Current price $72.00FITMENT 2011-2023 6.7L Ford Powerstroke F-250 F-350 F-450 F-550 Super Duty V8 Diesel. Compatible with both standard Pickups and commercial Cab &...
View full details -
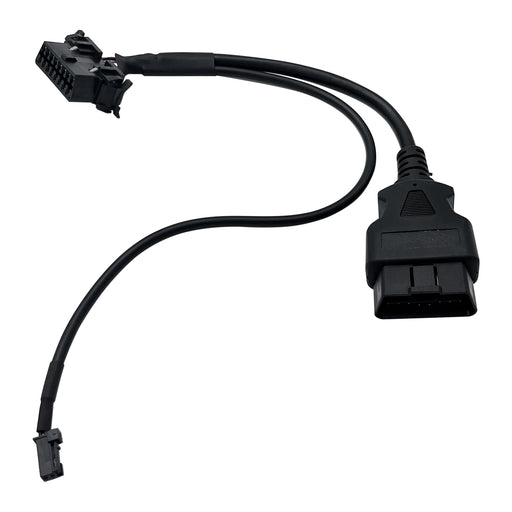
Seguler 2018+ RAM Cummins OBD2 HD Security Gate Bypass Cable
SEGULEROriginal price $45.00 - Original price $45.00Original price$45.00$45.00 - $45.00Current price $45.00FITMENT 2018+ 6.7L Ram Cummins 2500 3500 Turbo Diesel. Designed for Ram pickup trucks equipped with the factory Security Gateway Module. Note: Pl...
View full details -
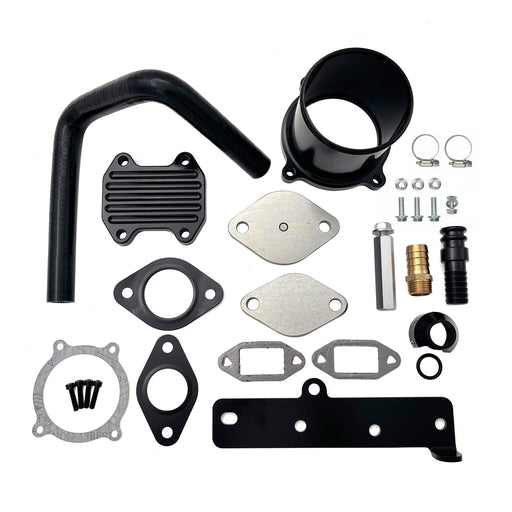
Seguler For 2013-2018 6.7L Dodge RAM 2500 3500 Cummins Diesel EGR Delete Cooler Throttle Valve Delete Kit
SEGULEROriginal price $112.00 - Original price $112.00Original price$112.00$112.00 - $112.00Current price $112.00FITMENT 2013–2018 6.7L Dodge Ram Cummins 2500 & 3500 Pickup Turbo Diesel. Note: Does NOT fit Cab & Chassis (3500 / 4500 / 5500 C&C) m...
View full details


Leave a comment